
This guide helps you diagnose and fix flywheel problems on the Honda GCV160 engine, commonly used in lawn mowers and small equipment. You’ll learn how to inspect, remove, and maintain the flywheel to keep your engine running smoothly.
Key Takeaways
- Safety first: Always disconnect the spark plug before working on the engine to prevent accidental starts.
- Common signs of flywheel issues: Hard starting, engine stalling, or no spark can indicate a damaged or misaligned flywheel.
- Proper tools are essential: Use a flywheel puller, torque wrench, and socket set for safe and effective removal and installation.
- Check the key and magnets: A sheared flywheel key or weak magnets can cause timing and ignition problems.
- Regular maintenance prevents issues: Clean the flywheel fins and inspect for damage during routine service.
- Reassembly requires precision: Always torque the flywheel nut to spec and realign the keyway correctly.
- When to replace: Cracked, warped, or severely damaged flywheels should be replaced, not repaired.
Quick Answers to Common Questions
Tip/Question?
What’s the most common cause of flywheel-related starting issues on the GCV160?
Tip/Question?
A sheared flywheel key is the most common cause. It throws off ignition timing, preventing the engine from starting or causing it to stall.
Tip/Question?
Can I reuse the old flywheel key?
Tip/Question?
Only if it’s undamaged and fits snugly. A worn or sheared key should always be replaced to ensure proper timing.
Tip/Question?
How tight should the flywheel nut be?
Tip/Question?
Tighten it to 45–55 ft-lbs using a torque wrench. Over-tightening can damage the crankshaft.
Tip/Question?
Do I need a special tool to remove the flywheel?
Tip/Question?
Yes, a flywheel puller is essential. Never use a hammer or pry bar—it can damage the flywheel or crankshaft.
Tip/Question?
How often should I inspect the flywheel?
Tip/Question?
Inspect it at least once a year or whenever you perform major maintenance. Clean the fins regularly during use.
Introduction: Why the Flywheel Matters on Your GCV160
If your Honda GCV160 engine is acting up—hard to start, stalling, or not starting at all—the flywheel might be the culprit. The flywheel is a heavy, rotating disc attached to the engine’s crankshaft. It plays a critical role in engine operation, storing rotational energy, helping with smooth engine running, and housing magnets that trigger the ignition system. On the GCV160, used in many lawn mowers and small outdoor power equipment, a malfunctioning flywheel can bring everything to a halt.
In this guide, you’ll learn how to troubleshoot, inspect, remove, and reinstall the flywheel on your GCV160 engine. Whether you’re a DIY enthusiast or a weekend mechanic, this step-by-step walkthrough will help you get your equipment back in action. We’ll cover common problems, safety tips, tools you’ll need, and how to avoid costly mistakes. By the end, you’ll have the confidence to handle flywheel issues like a pro.
Understanding the Flywheel’s Role in the GCV160 Engine
Before diving into repairs, it helps to understand what the flywheel does. On the GCV160, the flywheel serves three main purposes:
First, it stores rotational energy. As the engine fires, the flywheel keeps spinning, helping maintain momentum between combustion cycles. This is especially important in single-cylinder engines like the GCV160, where power delivery isn’t continuous.
Second, the flywheel contains powerful magnets embedded around its outer edge. These magnets pass by the ignition coil (also called the armature) as the flywheel spins. This movement generates the electrical spark needed to ignite the fuel-air mixture in the cylinder. If the magnets are weak, damaged, or misaligned, your engine won’t start or will run poorly.
Third, the flywheel acts as a heat sink. It helps dissipate heat from the engine, especially during prolonged use. The fins on the flywheel draw air across the engine block, aiding in cooling.
Because the flywheel is directly connected to the crankshaft via a keyed joint, any damage to the flywheel key—or improper reassembly—can throw off engine timing. This leads to poor performance or complete engine failure.
Common Symptoms of Flywheel Problems
Not every engine issue is flywheel-related, but certain signs point directly to flywheel trouble. Here are the most common symptoms to watch for:
Engine won’t start or is hard to start: If you pull the starter cord and nothing happens—or the engine turns over but doesn’t fire—the flywheel magnets may not be generating enough spark. This could be due to weak magnets, a damaged ignition coil, or a sheared flywheel key.
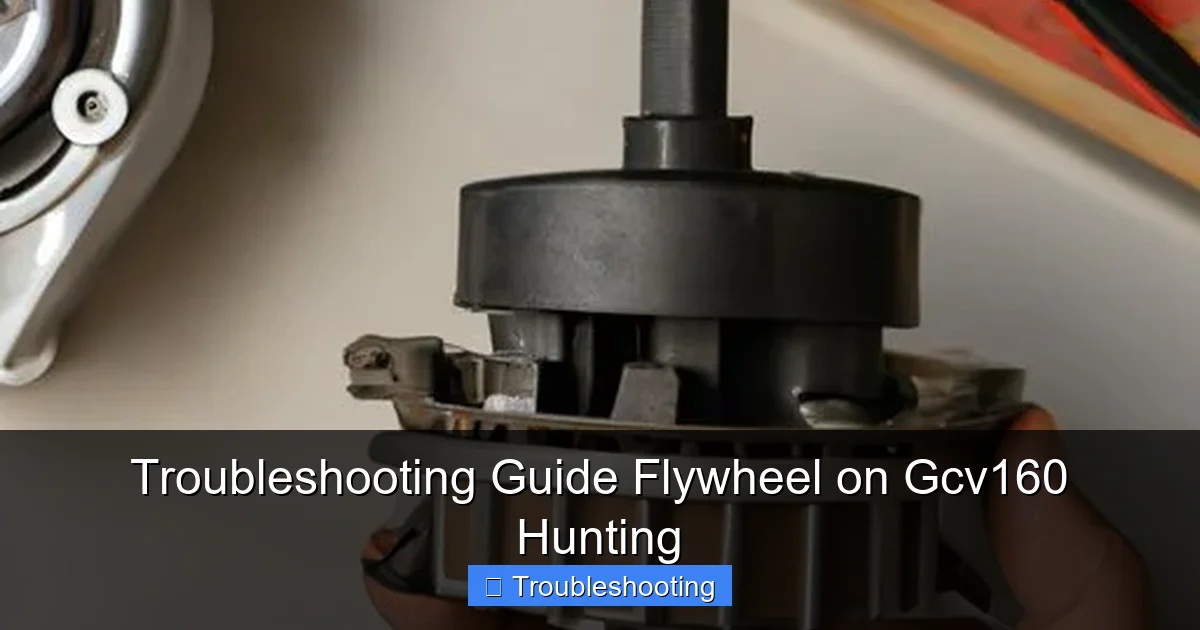
Visual guide about Troubleshooting Guide Flywheel on Gcv160 Hunting
Image source: lihpao.com
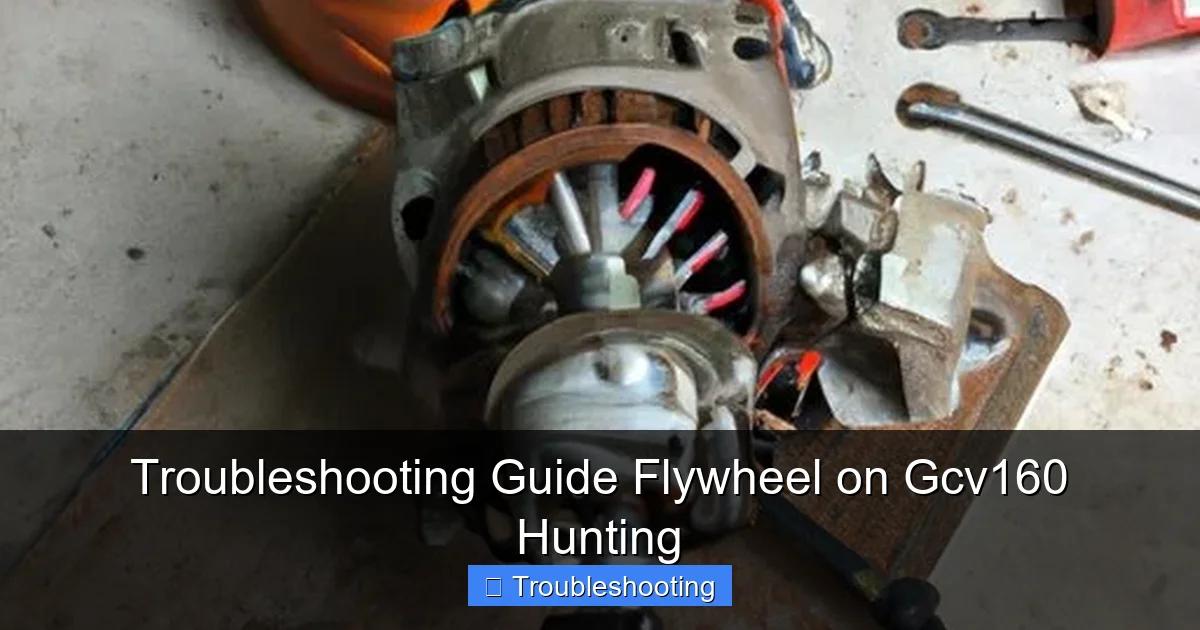
Visual guide about Troubleshooting Guide Flywheel on Gcv160 Hunting
Image source: lihpao.com
Engine starts but stalls immediately: This often indicates a timing issue. If the flywheel key is sheared, the magnets may not align properly with the ignition coil at the right moment, causing the spark to occur too early or too late.
Intermittent spark or no spark: Use a spark tester to check for spark at the plug. No spark or a weak, flickering spark suggests a problem with the flywheel’s magnetic field or the ignition system.
Unusual noises from the engine: A loose or unbalanced flywheel can cause knocking, rattling, or vibration. In severe cases, the flywheel may wobble or hit the engine housing.
Overheating: If the flywheel fins are clogged with grass, dirt, or debris, airflow is restricted. This can cause the engine to overheat, especially during heavy use.
Visible damage: Cracks, warping, or missing fins on the flywheel are clear signs it needs attention. Even small cracks can worsen over time and lead to catastrophic failure.
If you notice any of these issues, it’s time to inspect the flywheel.
Tools and Safety Precautions
Working on the flywheel requires specific tools and strict safety measures. Here’s what you’ll need:
- Flywheel puller: A specialized tool designed to safely remove the flywheel without damaging the crankshaft or keyway. Never use a hammer or pry bar—this can bend or crack the flywheel.
- Socket wrench set: Typically, a 19mm or 21mm socket is needed for the flywheel nut.
- Torque wrench: Essential for tightening the flywheel nut to the correct specification (usually 45–55 ft-lbs for the GCV160).
- Screwdrivers and pliers: For removing covers and handling small parts.
- Spark plug wrench: To remove the spark plug before starting work.
- Safety gear: Wear safety glasses and gloves to protect against sharp edges and debris.
- Clean rags and compressed air: For cleaning the flywheel and engine area.
- Replacement parts (if needed): Flywheel key, ignition coil, or a new flywheel.
Safety First: Critical Steps Before You Begin
Always disconnect the spark plug wire and secure it away from the spark plug. This prevents the engine from accidentally starting while you’re working. Even a small spark can cause the engine to turn over if the flywheel is moved.
Work in a well-lit, clean area. Lay out your tools so they’re easy to reach. Keep children and pets away from your workspace.
Never attempt to remove the flywheel without a proper puller. Forcing it off can damage the crankshaft, which is expensive and difficult to repair.
Step-by-Step: Removing the Flywheel
Now that you’re prepared, let’s begin the removal process. Follow these steps carefully.
Step 1: Prepare the Engine
Start by turning off the engine and letting it cool completely. Remove the spark plug using a spark plug wrench. This ensures the engine can’t start unexpectedly.
Next, locate the flywheel. On the GCV160, it’s on the top of the engine, beneath the blower housing and cooling shroud. You’ll need to remove these covers to access it.
Step 2: Remove the Blower Housing and Shroud
Use a screwdriver or socket wrench to remove the screws or bolts holding the blower housing in place. Carefully lift it off and set it aside. You should now see the flywheel and the flywheel nut in the center.
Note: Some models may have a recoil starter attached to the housing. If so, disconnect the starter rope carefully to avoid damaging the mechanism.
Step 3: Secure the Flywheel
To prevent the flywheel from spinning while you loosen the nut, you’ll need to lock it in place. One common method is to use a flywheel holder tool. Alternatively, you can wedge a screwdriver or pry bar between the flywheel fins and the engine block—but be gentle to avoid bending the fins.
Another option is to use a strap wrench or a piece of rope wrapped around the flywheel and anchored to the engine. The goal is to keep the flywheel from rotating while you apply torque to the nut.
Step 4: Loosen the Flywheel Nut
Use a socket wrench (usually 19mm or 21mm) to turn the flywheel nut counterclockwise. It may be tight, so apply steady pressure. If it won’t budge, try spraying a little penetrating oil around the threads and let it sit for 10–15 minutes.
Once the nut is loose, remove it completely and set it aside in a safe place. Don’t lose it—you’ll need it for reassembly.
Step 5: Install the Flywheel Puller
Attach the flywheel puller to the flywheel. Most pullers have three or four threaded bolts that screw into the puller plate, which then presses against the crankshaft.
Make sure the puller is centered and the bolts are evenly tightened. Turn the center bolt of the puller slowly with a wrench. As you tighten it, the flywheel should begin to lift off the crankshaft.
Do not hammer or force the flywheel. If it doesn’t come off after a few turns, stop and check for any remaining bolts or clips you may have missed.
Step 6: Remove the Flywheel
Once the flywheel is free, carefully lift it off the crankshaft. Note the position of the flywheel key—a small, rectangular metal piece that sits in a slot on the crankshaft. It ensures the flywheel is aligned correctly for proper ignition timing.
If the key is still in the crankshaft, remove it and inspect it for damage. A sheared or worn key is a common cause of timing issues.
Inspecting the Flywheel and Related Components
With the flywheel removed, it’s time to inspect it and other parts for damage.
Check the Flywheel Key
The flywheel key is critical for timing. If it’s sheared or cracked, the flywheel won’t align properly with the ignition coil. Replace it with a new key of the same size.
Inspect the Flywheel Magnets
Look at the magnets embedded in the flywheel. They should be firmly attached and free of cracks or corrosion. If a magnet is loose or missing, the flywheel may need to be replaced.
You can test the magnetic strength by holding a metal object (like a screwdriver) near the magnets while spinning the flywheel by hand. You should feel a strong pull. Weak magnets indicate wear or damage.
Check for Cracks, Warping, or Damage
Examine the flywheel for any visible cracks, especially around the center hub or between the fins. Use a straightedge to check for warping—any noticeable bend means the flywheel is unsafe to reuse.
Also, inspect the fins for clogs. Clean them with compressed air or a brush to ensure proper cooling.
Inspect the Ignition Coil (Armature)
While the flywheel is off, check the ignition coil. It should be securely mounted and free of cracks. The gap between the coil and the flywheel magnets should be about 0.010–0.012 inches (0.25–0.30 mm). Use a feeler gauge to measure it.
If the gap is too wide or too narrow, adjust the coil position. A misaligned coil can cause weak or no spark.
Reinstalling the Flywheel
Once you’ve inspected and cleaned everything, it’s time to put the flywheel back.
Step 1: Clean the Crankshaft and Keyway
Wipe the crankshaft and keyway clean with a rag. Remove any debris or old grease. This ensures a smooth fit for the new key and flywheel.
Step 2: Install the Flywheel Key
Insert the new (or undamaged) flywheel key into the keyway on the crankshaft. Make sure it sits flush and is properly aligned.
Step 3: Align and Slide on the Flywheel
Carefully slide the flywheel onto the crankshaft, aligning the keyway in the flywheel with the key. It should fit snugly without forcing.
Step 4: Reinstall the Flywheel Nut
Thread the flywheel nut onto the crankshaft by hand first, then tighten it with a socket wrench. Use a torque wrench to tighten it to the manufacturer’s specification—typically 45–55 ft-lbs for the GCV160.
Over-tightening can damage the crankshaft; under-tightening can cause the flywheel to loosen.
Step 5: Reattach the Blower Housing
Replace the blower housing and cooling shroud. Secure all screws or bolts. Reconnect the recoil starter if you disconnected it earlier.
Step 6: Reconnect the Spark Plug
Reinstall the spark plug and reconnect the spark plug wire. Make sure the connection is secure.
Testing the Engine
Start the engine and listen for smooth operation. Check for proper spark using a spark tester. If the engine starts and runs well, you’ve successfully fixed the issue.
If problems persist, double-check the flywheel alignment, key, and ignition coil gap. Also, verify that all connections are secure.
Troubleshooting Common Reassembly Issues
Even with careful work, problems can arise. Here’s how to fix them:
Engine still won’t start: Recheck the spark. If there’s no spark, the ignition coil may be faulty or the flywheel magnets weak. Test the coil with a multimeter or replace it.
Flywheel wobbles or makes noise: This indicates improper installation. The flywheel may not be seated correctly or the nut isn’t tight enough. Recheck torque and alignment.
Overheating after repair: Ensure the flywheel fins are clean and the housing is properly sealed. Poor airflow can cause overheating.
When to Replace the Flywheel
Not all flywheel issues can be fixed. Replace the flywheel if:
- It has cracks or is warped
- Magnets are loose, cracked, or missing
- Fins are severely bent or broken
- The center hub is damaged
Always use a genuine Honda replacement or a high-quality aftermarket part designed for the GCV160. Cheap replacements may not meet specifications and can fail prematurely.
Preventive Maintenance Tips
To avoid future flywheel problems:
- Clean the flywheel and cooling fins regularly—especially after mowing in tall grass or dusty conditions.
- Inspect the flywheel key during routine maintenance. Replace it if worn.
- Check the ignition coil gap every season.
- Store equipment in a dry place to prevent rust and corrosion.
- Use fresh fuel and add a fuel stabilizer if storing for long periods.
Conclusion
Troubleshooting the flywheel on your Honda GCV160 doesn’t have to be intimidating. With the right tools, safety practices, and a methodical approach, you can diagnose and fix most flywheel-related issues. Remember: the flywheel is vital for ignition, engine balance, and cooling. Regular inspection and maintenance can prevent costly repairs and extend the life of your equipment.
By following this guide, you’ve learned how to safely remove, inspect, and reinstall the flywheel. You’ve also gained insight into common problems and how to avoid them. Whether you’re fixing a no-start condition or just performing routine upkeep, these skills will keep your GCV160 running reliably season after season.