
If your GCV160 engine is hard to start, the flywheel could be the culprit. This guide walks you through diagnosing and fixing flywheel-related issues, from checking key alignment to inspecting magnets and recoil systems.
Key Takeaways
- Check the flywheel key: A sheared or misaligned flywheel key can cause timing issues, making the engine hard to start.
- Inspect flywheel magnets: Weak or damaged magnets reduce ignition spark, leading to starting difficulties.
- Examine the recoil starter: A worn rope or faulty spring can prevent proper flywheel rotation.
- Verify flywheel clearance: Improper gap between the flywheel and ignition coil affects spark generation.
- Clean debris buildup: Dirt, grass, or oil around the flywheel can interfere with cooling and rotation.
- Test the ignition coil: A failing coil won’t generate enough spark, even with a healthy flywheel.
- Ensure proper engine grounding: Poor electrical connections can disrupt the ignition system.
Quick Answers to Common Questions
Tip/Question?
Can a sheared flywheel key cause hard starting?
Yes! A sheared or damaged flywheel key disrupts engine timing, preventing proper spark and compression. Always inspect the key after any impact.
Tip/Question?
How do I know if my flywheel magnets are weak?
Use a compass or metal object near the spinning flywheel. If there’s no magnetic pull, the magnets may be weak or damaged.
Tip/Question?
What’s the correct flywheel-to-coil gap?
The ideal gap is 0.008 to 0.012 inches (0.20–0.30 mm). Use a feeler gauge to measure and adjust the ignition coil position.
Tip/Question?
Should I replace the flywheel or just the key?
Replace only the key if it’s damaged but the flywheel is intact. Replace the entire flywheel if it’s warped, cracked, or has loose magnets.
Tip/Question?
Why does my engine start after cleaning the flywheel?
Debris buildup can interfere with cooling and rotation. Cleaning restores proper airflow and reduces resistance, improving starting.
Introduction: Why Your GCV160 Is Hard to Start
If you’ve ever pulled the starter rope on your Honda GCV160 engine only to hear it cough, sputter, or refuse to turn over, you’re not alone. This small but powerful engine is commonly used in lawn mowers, pressure washers, and other outdoor equipment. While many factors can cause hard starting—like old fuel, clogged carburetors, or bad spark plugs—one often overlooked culprit is the flywheel.
The flywheel plays a critical role in the engine’s operation. It stores rotational energy, helps maintain smooth engine speed, and houses powerful magnets that interact with the ignition coil to generate spark. When something goes wrong with the flywheel or its related components, your engine may struggle to start or run poorly.
In this comprehensive troubleshooting guide, we’ll focus specifically on flywheel-related issues that cause hard starting on the GCV160. You’ll learn how to inspect, diagnose, and fix common problems—step by step. Whether you’re a DIY enthusiast or a weekend mechanic, this guide will help you get your engine running smoothly again.
Understanding the Flywheel’s Role in Engine Starting
Before diving into repairs, it’s important to understand how the flywheel contributes to engine operation.
The flywheel is a heavy, circular metal component attached to the engine’s crankshaft. As the engine runs, the flywheel spins rapidly, storing kinetic energy that helps maintain momentum between power strokes. But its most crucial function for starting is magnetic induction.
Inside the flywheel are strong permanent magnets. As the flywheel spins, these magnets pass close to the ignition coil (also called the armature). This movement creates a magnetic field that induces an electrical current in the coil. That current is then sent to the spark plug, creating the spark needed to ignite the fuel-air mixture in the combustion chamber.
If the flywheel isn’t spinning properly, the magnets are weak, or the timing is off, the spark may be weak or nonexistent—leading to hard starting or no start at all.
Step 1: Safety First – Preparing for Flywheel Inspection
Working on small engines involves risks, especially when dealing with moving parts and electrical components. Always follow these safety steps before beginning:
Disconnect the Spark Plug
Start by removing the spark plug wire and grounding it away from the plug. This prevents accidental engine starts while you’re working. Use a spark plug wrench to remove the plug and inspect it for fouling or damage.

Visual guide about Troubleshooting Guide Flywheel on Gcv160 Hard to Start
Image source: cherishyourcar.com
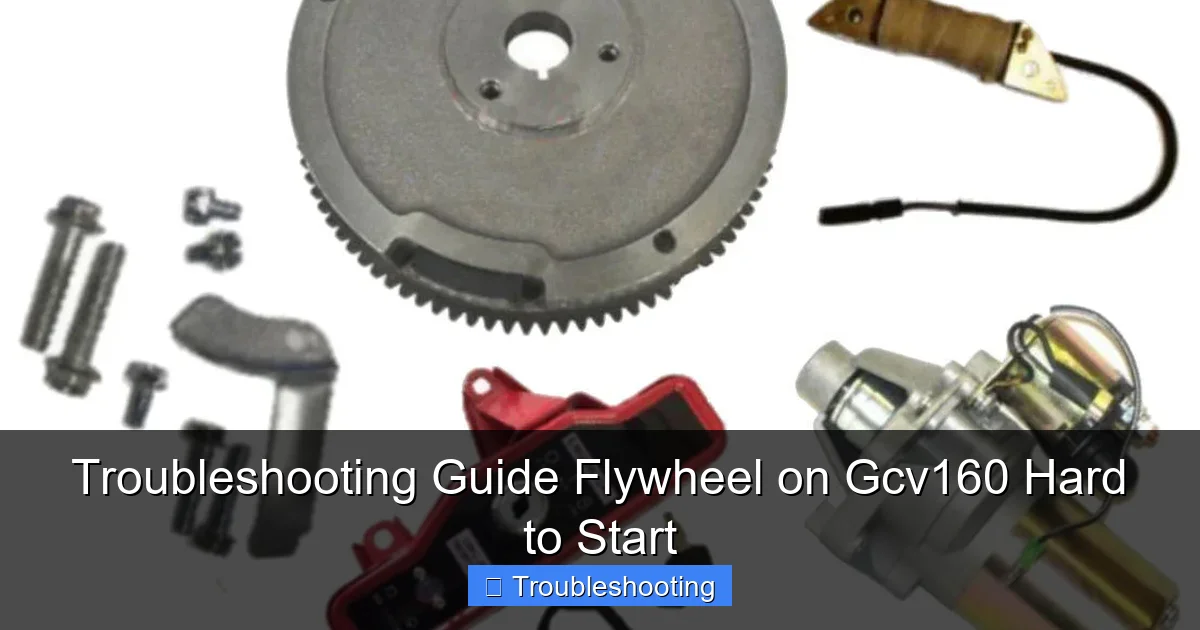
Visual guide about Troubleshooting Guide Flywheel on Gcv160 Hard to Start
Image source: cdn.shopify.com
Drain the Fuel (Optional but Recommended)
If your equipment has been sitting with old fuel, drain the tank and carburetor to avoid spills and reduce fire risk. Use a siphon or disconnect the fuel line carefully.
Work in a Well-Ventilated Area
Engine work can release fumes. Always work outdoors or in a garage with the door open. Avoid open flames or sparks.
Wear Protective Gear
Use safety glasses to protect your eyes from debris. Gloves can help prevent cuts, especially when handling sharp engine parts.
Secure the Equipment
Place the mower or pressure washer on a flat, stable surface. Use a jack stand or block if needed to prevent tipping.
Step 2: Accessing the Flywheel
To inspect the flywheel, you’ll need to remove the engine shroud and possibly the recoil starter assembly.
Remove the Engine Shroud
Use a socket wrench or screwdriver to remove the bolts securing the engine cover. On most GCV160 engines, there are 3–5 bolts around the perimeter. Keep track of all hardware.
Detach the Recoil Starter (If Necessary)
The recoil starter is usually mounted above the flywheel. Remove the screws holding it in place. Carefully lift it off, noting how the rope routes through the housing. You may need to release tension on the recoil spring—do this slowly to avoid injury.
Expose the Flywheel
Once the shroud and recoil are off, you should see the top of the flywheel. It’s a large, finned metal disc with a keyway slot near the center. Be careful not to touch the fins—they can be sharp.
Step 3: Inspecting the Flywheel Key
The flywheel key is a small, rectangular piece of metal that sits in a slot between the crankshaft and the flywheel. Its job is to ensure the flywheel rotates in perfect sync with the crankshaft. If the key is damaged or sheared, the engine’s timing is thrown off, making it hard or impossible to start.
Locate the Flywheel Key
The key sits in a groove on the crankshaft, just below the flywheel. You’ll need to rotate the flywheel by hand (or with a wrench on the crankshaft bolt) to see it clearly.
Check for Shearing or Damage
Look for cracks, flattening, or complete breakage. A sheared key often happens after the engine hits a solid object (like a rock or curb) while running. Even a slightly damaged key can cause timing issues.
Test Key Fit
The key should fit snugly in the slot. If it’s loose or wobbles, it may not be transferring rotation properly. Replace it with an OEM Honda flywheel key (part #90011-772-000 or equivalent).
Reinstall the Key Correctly
When replacing, ensure the key is seated fully in the crankshaft groove. The flywheel should sit flat and secure. Tighten the flywheel nut to the specified torque (usually 25–30 ft-lbs) using a torque wrench.
Step 4: Checking Flywheel Magnets
The magnets embedded in the flywheel are essential for generating spark. Over time, they can weaken or become damaged.
Visual Inspection
Look for cracks, chips, or corrosion on the magnet surfaces. Even small damage can reduce magnetic strength.
Test Magnet Strength
Use a compass or a metal paperclip. Bring it close to the flywheel magnets while spinning the flywheel by hand. If the compass needle doesn’t move or the paperclip isn’t attracted, the magnets may be weak.
Check for Loose Magnets
Gently tap around the magnet areas. If you hear a rattle or feel movement, the magnets may be loose. This requires professional repair or flywheel replacement.
Note: Replacing Magnets is Not Practical
Unlike some larger engines, GCV160 flywheels are not designed for magnet replacement. If the magnets are faulty, replace the entire flywheel.
Step 5: Measuring Flywheel Clearance
The gap between the flywheel and the ignition coil (armature) is critical. If it’s too wide or too narrow, spark generation suffers.
Use a Feeler Gauge
The ideal clearance is typically 0.008 to 0.012 inches (0.20–0.30 mm). Rotate the flywheel and measure the gap at multiple points to ensure consistency.
Adjust the Ignition Coil Position
Loosen the mounting screws on the ignition coil. Slide it closer or farther from the flywheel to achieve the correct gap. Tighten the screws securely when done.
Check for Warping
Spin the flywheel and watch for wobble. A warped flywheel can cause inconsistent gaps. Use a dial indicator if available, or look for visible wobbling.
Replace if Warped
A warped flywheel cannot be straightened. Replace it with a new one. Ensure the replacement is compatible with the GCV160 model.
Step 6: Inspecting the Recoil Starter
The recoil starter turns the flywheel when you pull the rope. If it’s faulty, the flywheel won’t spin fast enough to generate spark.
Check the Starter Rope
Look for fraying, stretching, or breakage. Replace the rope if it’s worn. Honda part #28471-VH7-003 is commonly used.
Test the Recoil Spring
Pull the rope slowly. It should retract smoothly. If it’s sluggish or doesn’t return, the spring may be broken or dislodged.
Inspect the Pulley and Housing
Look for cracks, worn grooves, or debris. Clean out any grass or dirt that may be jamming the mechanism.
Reassemble Carefully
When reassembling, wind the recoil spring properly. Follow a recoil starter repair guide or video to avoid injury from spring tension.
Step 7: Cleaning the Flywheel and Cooling Fins
Over time, grass clippings, oil, and dirt can build up around the flywheel, blocking airflow and causing overheating or resistance.
Use Compressed Air
Blow out debris from between the cooling fins. Hold the flywheel still to prevent spinning.
Wipe with a Degreaser
Use a non-flammable degreaser and a stiff brush to clean oil and grime. Avoid spraying near electrical components.
Check for Oil Leaks
If oil is pooling near the flywheel, inspect the crankshaft seal. A leaking seal can foul the flywheel and ignition system.
Allow to Dry Completely
Let all parts dry before reassembly. Moisture can cause electrical shorts or corrosion.
Step 8: Testing the Ignition Coil
Even with a healthy flywheel, a faulty ignition coil can prevent spark.
Use a Multimeter
Set the multimeter to ohms (Ω). Disconnect the coil wire. Measure resistance between the coil terminal and ground. A good coil typically reads 200–500 ohms. Infinite resistance means an open circuit—replace the coil.
Check for Physical Damage
Look for burnt spots, cracks, or melted insulation. These indicate overheating or electrical failure.
Test Spark Directly
Reconnect the spark plug. Ground the plug body to the engine. Have someone pull the starter rope while you watch for a blue spark. No spark? The coil or flywheel is likely at fault.
Step 9: Verifying Engine Grounding
A poor ground connection can disrupt the ignition circuit.
Inspect Ground Wires
Check the wire from the ignition coil to the engine block. Ensure it’s tight and free of corrosion.
Clean Connection Points
Use sandpaper or a wire brush to clean the contact surfaces. Re-tighten all ground connections.
Test Continuity
Use a multimeter to check for continuity between the coil ground and the engine block. There should be little to no resistance.
Troubleshooting Common Scenarios
Here are some real-world situations and how to address them:
Engine Starts After Several Pulls
This often points to weak spark. Check the flywheel magnets and ignition coil. Also, verify the flywheel key isn’t partially sheared.
Engine Cranks But Won’t Fire
No spark? Focus on the ignition system: coil, flywheel, and grounding. A sheared key is a common cause.
Flywheel Spins Freely But Engine Doesn’t Turn
The flywheel nut may be loose. Tighten it to spec. Also, check if the key is missing—this can allow the flywheel to spin independently.
Engine Overheats and Hard to Start
Clogged cooling fins or a warped flywheel can cause overheating. Clean thoroughly and inspect for warping.
Intermittent Starting Issues
This could be a loose ignition coil or a failing magnet. Check all connections and test components systematically.
When to Replace the Flywheel
While many flywheel issues can be repaired, some require replacement:
- The flywheel is cracked or warped
- Magnets are loose or severely damaged
- Keyway is stripped or elongated
- Cooling fins are broken or bent
- Multiple repairs have failed to resolve hard starting
Always use a genuine or high-quality aftermarket flywheel designed for the Honda GCV160. Cheap replacements may not meet specifications and can cause further problems.
Reassembly and Final Testing
Once all inspections and repairs are complete:
Reattach the Recoil Starter
Route the rope correctly and secure the housing. Test the recoil action before final tightening.
Replace the Engine Shroud
Align the shroud properly and tighten all bolts evenly. Don’t overtighten—plastic parts can crack.
Reconnect the Spark Plug
Install a new spark plug if the old one was fouled. Reattach the wire securely.
Add Fresh Fuel
Use ethanol-free gasoline if possible. Add a fuel stabilizer if the equipment will sit for long periods.
Test Start the Engine
Pull the starter rope slowly at first, then with steady force. The engine should start within 1–3 pulls. Let it run for a few minutes to ensure smooth operation.
Preventive Maintenance Tips
To avoid future hard-starting issues:
- Replace the spark plug annually
- Use fresh fuel and drain old gas
- Clean the air filter regularly
- Inspect the flywheel key after any impact
- Store equipment in a dry, covered area
- Perform seasonal tune-ups
Conclusion: Get Your GCV160 Running Smoothly
A hard-to-start GCV160 engine can be frustrating, but many issues stem from the flywheel and its related components. By following this step-by-step troubleshooting guide, you’ve learned how to inspect the flywheel key, test magnets, check clearance, and verify the ignition system. With the right tools and a bit of patience, you can diagnose and fix most flywheel-related problems yourself.
Remember, safety comes first—always disconnect the spark plug and work carefully around moving parts. When in doubt, consult a professional or refer to your Honda service manual.
With proper maintenance and timely repairs, your GCV160 will deliver reliable performance for years to come. Now, go fire it up and enjoy the smooth, powerful start you deserve.