
If you’ve noticed gasoline dripping near the flywheel of your Honda GCV160 engine, it’s a sign something’s wrong. This guide walks you through diagnosing and fixing the most common causes—like a cracked carburetor bowl, faulty gaskets, or improper float levels—so you can get your engine running safely and efficiently again.
Key Takeaways
- Gas leaks near the flywheel often stem from the carburetor, not the flywheel itself. The flywheel area is just where fuel drips collect due to airflow and gravity.
- Always turn off the fuel valve and disconnect the spark plug before starting repairs. Safety is critical when working with flammable liquids and moving engine parts.
- A cracked or warped carburetor bowl is a frequent culprit. Inspect it carefully for hairline cracks, especially around the drain screw.
- Worn or misaligned gaskets can allow fuel to seep out. Replace any brittle, flattened, or damaged gaskets during reassembly.
- Incorrect float height or a stuck float needle causes overfilling. This leads to fuel overflow into the intake and down toward the flywheel.
- Use only OEM or high-quality aftermarket parts for replacements. Cheap gaskets or bowls may fail quickly and cause recurring leaks.
- After repair, test the engine in a well-ventilated area and check for leaks again. Never assume the fix worked without visual confirmation.
Quick Answers to Common Questions
Tip/Question?
Can I use silicone sealant to fix a cracked carburetor bowl?
No—silicone or epoxy won’t hold under fuel pressure and can break off, clogging the engine. Always replace cracked parts with proper replacements.
Tip/Question?
How often should I check for fuel leaks?
Inspect your engine before each use, especially if it’s been stored. Look for wet spots, stains, or the smell of gasoline.
Tip/Question?
Is it safe to run the engine if there’s a small gas leak?
No. Even a small leak is a fire hazard. Turn off the fuel, disconnect the spark plug, and repair it before using the equipment.
Tip/Question?
Why does fuel leak only when the engine is running?
This usually means the carburetor is overfilling due to a stuck float or faulty needle valve. The engine’s vacuum pulls fuel in, but it can’t all be burned.
Tip/Question?
Can I clean the carburetor instead of replacing parts?
Cleaning helps with clogs, but worn gaskets, cracked bowls, or damaged floats must be replaced. Cleaning alone won’t fix physical damage.
Introduction: Why Is Gas Leaking Near the Flywheel on Your GCV160?
If you’re seeing gasoline pooling or dripping near the flywheel of your Honda GCV160 engine—whether it’s on your lawn mower, pressure washer, or generator—it’s easy to assume the flywheel itself is leaking. But here’s the truth: the flywheel doesn’t hold fuel. Instead, it’s usually a symptom of a problem elsewhere, most commonly in the carburetor.
The GCV160 is a reliable, lightweight engine used in many outdoor power tools. But like any small engine, it’s prone to wear and tear over time. Fuel leaks are not just messy—they’re dangerous. Gasoline is highly flammable, and even a small spark from the ignition system or hot engine parts can ignite fumes. That’s why addressing a gas leak promptly isn’t just about maintenance; it’s about safety.
In this guide, you’ll learn how to diagnose and fix the most common causes of fuel leakage near the flywheel on the Honda GCV160. We’ll walk you through each step, from safety prep to final testing, using simple tools and clear instructions. By the end, you’ll know exactly what to look for and how to restore your engine to safe, leak-free operation.
Step 1: Safety First – Preparing for Repair
Visual guide about Troubleshooting Guide Flywheel on Gcv160 Leaking Gas
Image source: housewarm.co.uk
Before you touch anything on your engine, safety must come first. Gasoline vapors are invisible and explosive, and the engine may still be hot from recent use.
Turn Off the Fuel Supply
Locate the fuel shut-off valve (if your equipment has one) and turn it to the “OFF” position. If there’s no valve, you’ll need to clamp the fuel line or disconnect it temporarily. Use a fuel line clamp or a pair of needle-nose pliers with a rubber sleeve to pinch the line closed. This prevents more gas from flowing into the carburetor while you work.
Disconnect the Spark Plug
Remove the spark plug wire and unscrew the spark plug using a spark plug wrench. This ensures the engine can’t accidentally start while you’re working. Lay the plug aside in a safe place—don’t let it touch metal or ground.
Work in a Well-Ventilated Area
Choose a clean, dry, outdoor space or a garage with the door open. Never work indoors where fumes can accumulate. Keep all ignition sources—like lighters, phones, or power tools—far away.
Wear Protective Gear
Put on safety glasses and nitrile gloves. Gasoline can irritate your skin and eyes, and small parts may fly loose during disassembly.
Have a Fire Extinguisher Nearby
Keep a Class B fire extinguisher (for flammable liquids) within reach. Just in case.
Step 2: Locate the Source of the Leak
Visual guide about Troubleshooting Guide Flywheel on Gcv160 Leaking Gas
Image source: ww2.justanswer.com
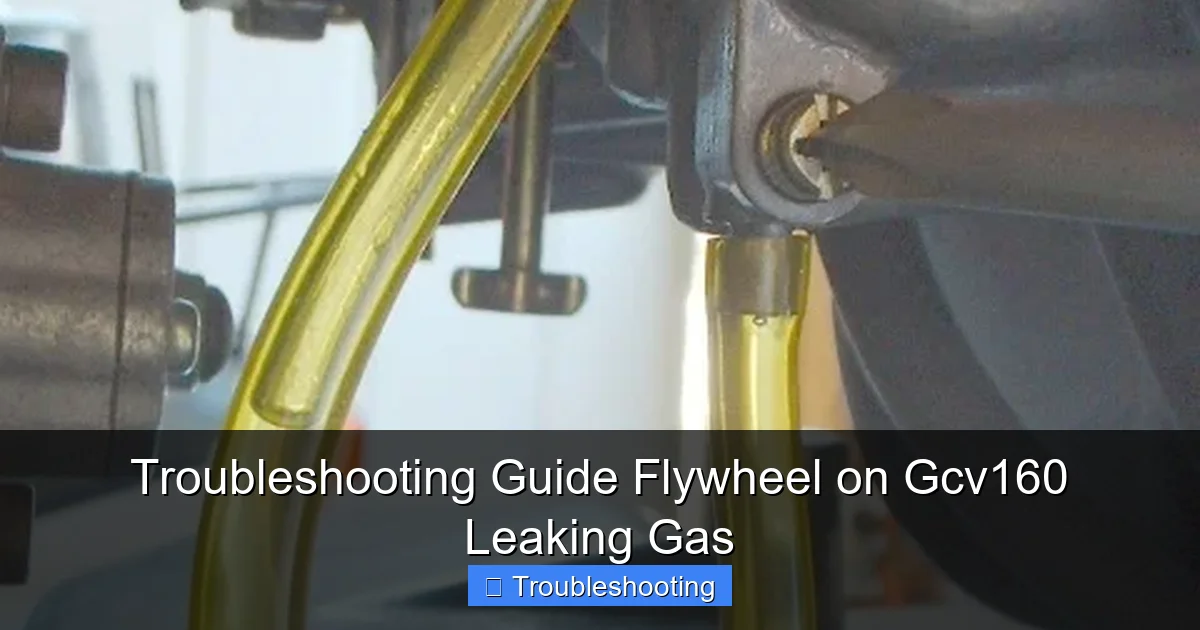
Now that you’re safe, it’s time to find where the gas is coming from. The flywheel sits at the bottom of the engine, so fuel dripping from above will naturally collect there. But the real issue is usually higher up.
Inspect the Carburetor Area
The carburetor is mounted near the air filter and intake manifold, typically on the side of the engine opposite the flywheel. Look for:
– Wet or stained areas around the carburetor
– Fuel dripping from the bowl drain screw
– Cracks in the plastic or metal body
– Loose or missing screws
Check the Fuel Tank and Lines
Make sure the fuel tank cap isn’t cracked and the vent isn’t clogged. A blocked vent can create suction that pulls fuel into the carburetor even when the engine is off. Also inspect the fuel line for cracks, kinks, or loose connections.
Look for Fuel in the Air Filter Housing
Remove the air filter and check the housing. If you see gasoline inside, it’s a strong sign that the carburetor is overfilling and fuel is backing up into the intake.
Observe the Float Bowl
The float bowl is the small, translucent or metal chamber at the bottom of the carburetor. It holds fuel before it’s metered into the engine. If it’s cracked, warped, or leaking around the gasket, that’s likely your problem.
Step 3: Remove the Carburetor
Once you’ve confirmed the carburetor is the source, it’s time to take it off for inspection and repair.
Disconnect the Fuel Line
Use pliers to gently loosen the clamp on the fuel line and pull the line off the carburetor inlet. Have a rag ready to catch any drips.
Remove the Air Filter and Housing
Unscrew the air filter cover and remove the filter. Then unscrew the housing from the carburetor. This gives you full access to the carburetor mounting bolts.
Disconnect the Throttle and Choke Linkages
Carefully detach the throttle and choke cables from the carburetor levers. Take a photo or make a note of how they’re connected so you can reassemble them correctly.
Unbolt the Carburetor
Use a socket or wrench to remove the two bolts securing the carburetor to the intake manifold. Gently wiggle the carburetor free. Be careful not to damage the gasket between the carburetor and manifold.
Drain Remaining Fuel
Turn the carburetor upside down over a container and let any remaining fuel drain out. This makes handling safer and cleaner.
Step 4: Inspect the Carburetor Components
Now that the carburetor is off, you can examine each part for damage or wear.
Check the Float Bowl for Cracks
The float bowl is often made of plastic and can crack from heat, age, or over-tightening. Look closely around the drain screw and the seam where the bowl meets the main body. Even a hairline crack can leak fuel.
Inspect the Float and Needle Valve
Remove the float bowl and take out the float. Shake it gently—if you hear liquid inside, it’s flooded and needs replacement. Check the needle valve (attached to the float) for wear, dirt, or sticking. A stuck needle lets too much fuel in, causing overflow.
Measure Float Height (If Applicable)
Some GCV160 carburetors allow float height adjustment. Refer to your engine manual for the correct measurement (usually around 15–17mm). If the float is bent or the pivot pin is worn, it won’t seal properly.
Examine the Gaskets and O-Rings
Look at the gasket between the float bowl and carburetor body. Is it flat, brittle, or torn? Replace it if it’s not perfectly pliable. Also check the main gasket between the carburetor and engine block.
Clean the Jets and Passages
Use carburetor cleaner and a thin wire (like a guitar string) to clear any clogged jets or fuel passages. Even a partial blockage can disrupt fuel flow and cause leaks.
Step 5: Replace Damaged Parts
Based on your inspection, replace any faulty components.
Install a New Float Bowl (If Cracked)
If the bowl is cracked, replace it with an OEM or high-quality aftermarket part. Don’t use epoxy or tape—it won’t hold under pressure and can contaminate the fuel system.
Replace the Float and Needle Valve
If the float is damaged or the needle is worn, replace the entire assembly. This is a common fix for chronic overfilling.
Install New Gaskets
Always use new gaskets when reassembling. Old gaskets lose their seal over time. Apply a thin layer of gasket sealant if recommended by the manufacturer.
Tighten Screws Properly
When reassembling, tighten screws evenly and to the correct torque. Over-tightening can crack plastic parts or warp metal surfaces.
Step 6: Reinstall the Carburetor
With the carburetor repaired, it’s time to put everything back.
Reattach the Carburetor to the Engine
Place the new gasket on the intake manifold, then position the carburetor and secure it with the bolts. Don’t overtighten.
Reconnect Linkages and Fuel Line
Reattach the throttle and choke cables exactly as they were. Reconnect the fuel line and secure it with a clamp.
Reinstall the Air Filter and Housing
Put the air filter back in place and screw the housing down securely. A loose air filter can allow dirt into the engine and affect performance.
Reconnect the Spark Plug
Screw the spark plug back in and reconnect the wire. Make sure it’s snug but not over-tightened.
Step 7: Test for Leaks
Before you consider the job done, you must test the repair.
Turn On the Fuel Supply
Slowly open the fuel valve or remove the clamp from the fuel line. Watch for leaks at the carburetor, fuel line, and around the float bowl.
Prime the Engine (If Equipped)
If your engine has a primer bulb, press it a few times to fill the carburetor with fuel.
Start the Engine
Pull the starter cord or use the electric start. Let the engine run for 2–3 minutes. Watch closely for any signs of fuel dripping or spraying.
Check Again After Cooling
Turn off the engine and let it cool. Then inspect once more. Sometimes leaks only appear when the engine is hot or under pressure.
Troubleshooting Common Issues After Repair
Even after a thorough repair, you might still encounter problems.
Engine Still Leaks Gas
If fuel continues to drip, double-check the float needle and seat. A tiny piece of dirt can prevent a proper seal. Clean the seat with carburetor cleaner and a soft cloth.
Engine Won’t Start or Runs Rough
This could mean air got into the fuel line or the carburetor isn’t seated properly. Check all connections and ensure the fuel line is clear.
Fuel in the Oil
If you notice a gasoline smell in the engine oil, the carburetor may be leaking into the crankcase. This is serious—drain the oil immediately and recheck the carburetor installation.
Excessive Fuel Consumption
A stuck float or incorrect float height can cause the engine to run rich. Recheck your float adjustment and needle valve.
Preventing Future Leaks
Once your engine is leak-free, take steps to avoid recurrence.
Use Fresh Fuel
Old or contaminated fuel can gum up the carburetor and damage seals. Use fuel within 30 days or add a stabilizer if storing longer.
Install a Fuel Filter
A small inline fuel filter catches debris before it reaches the carburetor.
Store Equipment Properly
When not in use, turn off the fuel valve and run the engine until it stalls. This empties the carburetor and reduces the chance of leaks during storage.
Inspect Regularly
Check the carburetor and fuel system every few months for signs of wear or leaks.
Conclusion: Stay Safe and Keep Your Engine Running Smoothly
A gas leak near the flywheel on your Honda GCV160 is rarely a flywheel problem—it’s almost always a carburetor issue. By following this guide, you’ve learned how to safely diagnose, disassemble, inspect, and repair the most common causes of fuel leakage. Whether it’s a cracked float bowl, a worn gasket, or a stuck float needle, you now have the knowledge to fix it.
Remember: safety comes first. Always work in a ventilated area, disconnect the spark plug, and keep ignition sources away. And when in doubt, consult a professional or refer to your engine’s service manual.
With proper maintenance and attention to detail, your GCV160 will continue to deliver reliable performance for years to come. Don’t ignore a gas leak—address it promptly, and you’ll save yourself from bigger problems down the road.