
Is your Honda GCV160 engine not starting due to no spark? This guide walks you through diagnosing and fixing flywheel-related ignition problems, from checking the spark plug to testing the ignition coil and flywheel key. Follow our clear steps to restore spark and get your equipment back in action.
Key Takeaways
- Check the spark plug first: A fouled or damaged spark plug is the most common cause of no spark. Replace or clean it before moving to other components.
- Inspect the flywheel key: A sheared flywheel key can misalign the ignition timing, preventing spark. Always check after a backfire or sudden stop.
- Test the ignition coil: Use a multimeter to verify the coil is generating voltage. A faulty coil won’t produce spark even with a good flywheel.
- Look for loose or damaged wiring: Corroded or disconnected wires between the coil and grounding points can interrupt the circuit.
- Ensure proper flywheel clearance: The gap between the flywheel magnets and ignition coil must be 0.006–0.012 inches. Improper spacing disrupts magnetic induction.
- Verify grounding continuity: A poor ground connection can prevent the ignition system from completing the circuit, resulting in no spark.
- Use safety precautions: Always disconnect the spark plug wire and allow the engine to cool before working on ignition components.
Quick Answers to Common Questions
Tip/Question?
Can I test for spark without removing the spark plug?
No—you must remove the plug and ground it against the engine to safely observe spark. Testing with the plug installed can damage the ignition system or give false readings.
Tip/Question?
How often should I replace the spark plug on a GCV160?
Replace it every 100 hours of operation or at least once per season. Fouled plugs are a leading cause of no-spark issues.
Tip/Question?
Is it safe to run the engine without the flywheel cover?
No—the cover protects internal components and prevents debris from entering. Always reinstall it after servicing.
Tip/Question?
Can a weak battery cause no spark on a GCV160?
Not typically—the GCV160 uses a magneto ignition system that generates its own power. However, a faulty charging system can affect long-term reliability.
Tip/Question?
What if I replace everything and still have no spark?
Double-check all connections, especially grounding. Consider testing with a known-good coil or consulting a professional technician.
Introduction: Why Your GCV160 Has No Spark
If your Honda GCV160 engine—commonly found in lawn mowers, pressure washers, and small generators—won’t start and you’ve confirmed there’s no spark, the problem likely lies in the ignition system. The flywheel plays a critical role in generating the magnetic field needed to produce spark. When something goes wrong with the flywheel, ignition coil, or related components, the engine simply won’t fire.
This comprehensive troubleshooting guide will walk you through every step to diagnose and fix a no-spark condition on your GCV160. Whether you’re a DIY enthusiast or a professional technician, you’ll learn how to safely inspect, test, and repair the flywheel and ignition system. By the end, you’ll be able to restore spark and get your equipment running smoothly again.
We’ll cover everything from basic spark plug checks to advanced flywheel alignment and coil testing. No special tools? No problem—most steps require only a multimeter, wrench set, and a few basic hand tools. Let’s get started.
Step 1: Confirm There’s No Spark
Before diving into complex diagnostics, you must confirm that the engine truly has no spark. Assuming there’s no spark without testing can lead to unnecessary repairs.
Tools Needed
- Spark plug wrench or socket
- Known-good spark plug (or the original one)
- Safety gloves and goggles
How to Test for Spark
- Disconnect the spark plug wire from the spark plug. Never test with the wire connected to the engine.
- Remove the spark plug using the appropriate wrench.
- Reattach the spark plug wire to the spark plug.
- Ground the metal base of the spark plug against the engine block (this completes the circuit).
- Have a helper pull the starter cord or turn the key (if electric start) while you watch the spark plug gap.
What to look for: A healthy spark will appear as a bright blue or white flash across the electrode gap. A weak yellow or orange spark indicates a problem. No visible spark means the ignition system is failing.
Visual guide about Troubleshooting Guide Flywheel on Gcv160 No Spark
Image source: generatorist.com
Pro Tip: Perform this test in a dimly lit area or at night for better visibility. Even a faint spark can be hard to see in daylight.
Step 2: Inspect and Replace the Spark Plug
The spark plug is the most common culprit in no-spark scenarios. It’s also the easiest and cheapest part to replace.
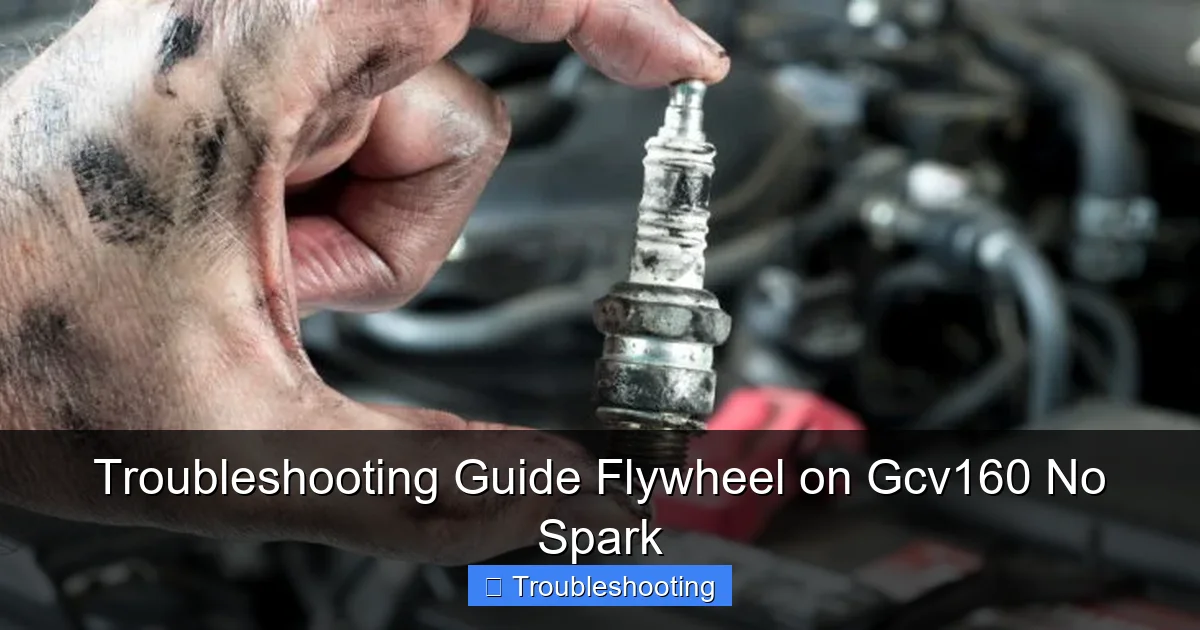
Signs of a Bad Spark Plug
- Heavy carbon buildup (black, sooty deposits)
- Oil fouling (wet, oily appearance)
- Electrode erosion (worn or melted tips)
- Cracked insulator
How to Clean or Replace
- Remove the spark plug and inspect it closely.
- If it’s dirty but not damaged, clean it with a wire brush and compressed air.
- Check the electrode gap using a gap tool. For the GCV160, the correct gap is typically 0.028 inches (0.7 mm). Adjust if necessary.
- If the plug is damaged or heavily fouled, replace it with a new one. Use the manufacturer-recommended type (e.g., NGK BPR6ES or equivalent).
- Reinstall the plug and reconnect the wire.
Important: Always torque the spark plug to the manufacturer’s specification (usually 13–15 ft-lbs). Over-tightening can damage the threads in the cylinder head.
Visual guide about Troubleshooting Guide Flywheel on Gcv160 No Spark
Image source: generatorist.com
Step 3: Check the Flywheel Key
The flywheel key is a small, soft metal pin that synchronizes the flywheel’s position with the crankshaft. It’s designed to shear under extreme stress (like a backfire or sudden stop) to protect the engine. If it’s sheared, the flywheel rotates out of sync, and the ignition timing is off—resulting in no spark.
Why the Flywheel Key Matters
The ignition coil generates spark based on the magnetic field created by the flywheel’s rotating magnets. If the key is broken, the magnets pass the coil at the wrong time, and no spark occurs at the plug.
How to Inspect the Flywheel Key
- Remove the flywheel cover (usually held by 3–4 bolts).
- Use a flywheel puller tool to safely remove the flywheel. Do not strike it with a hammer—this can damage the bearings or magnets.
- Locate the flywheel key in the keyway between the flywheel and crankshaft.
- Check if the key is cracked, bent, or completely sheared.
What to do if the key is damaged: Replace it with an identical OEM or high-quality aftermarket key. Never reuse a sheared key—even if it looks intact, it may fail again under stress.
Reinstalling the Flywheel
- Clean the crankshaft taper and flywheel hub.
- Insert the new key into the crankshaft keyway.
- Align the flywheel keyway with the key and slide it onto the crankshaft.
- Tighten the flywheel nut to the specified torque (usually 40–50 ft-lbs). Use a holding tool to prevent the crankshaft from turning.
- Reinstall the flywheel cover.
Pro Tip: After replacing the key, always test for spark before reassembling the entire engine. This saves time if another issue exists.
Step 4: Test the Ignition Coil
The ignition coil converts low-voltage battery power (or magnetic induction) into high-voltage spark. If it’s faulty, no amount of flywheel rotation will produce spark.
How the Coil Works
As the flywheel’s magnets pass the coil, they induce a current in the primary winding. This triggers the secondary winding to generate a high-voltage pulse sent to the spark plug.
Testing the Coil with a Multimeter
- Disconnect the spark plug wire from the coil.
- Set your multimeter to ohms (resistance) mode.
- Test the primary winding: Place probes on the coil’s two small terminals (or the connector). You should see a reading between 0.5 and 2.0 ohms.
- Test the secondary winding: Place one probe on the spark plug terminal and the other on the coil body (ground). Expect 5,000–15,000 ohms (5kΩ to 15kΩ).
Interpreting Results:
- Open circuit (OL or infinite resistance): The coil is faulty and must be replaced.
- Resistance too low: Short circuit inside the coil—replace it.
- Resistance within range: Coil is likely good. Move to other tests.
Visual Inspection
Look for signs of physical damage:
- Burn marks or melted insulation
- Cracked housing
- Loose or corroded terminals
Note: Even if the coil passes resistance tests, it may still fail under load. If in doubt, swap in a known-good coil to confirm.
Step 5: Check Flywheel-to-Coil Air Gap
The air gap between the flywheel magnets and the ignition coil is critical. If it’s too wide or too narrow, the magnetic field won’t induce enough voltage for spark.
Correct Air Gap Specification
For the Honda GCV160, the recommended gap is 0.006 to 0.012 inches (0.15 to 0.3 mm).
How to Measure and Adjust the Gap
- Remove the flywheel cover and ignition coil (usually held by 2 bolts).
- Use a feeler gauge to measure the gap between the coil face and the flywheel magnets.
- If the gap is incorrect, loosen the coil mounting bolts and adjust its position.
- Tighten the bolts and recheck the gap. Ensure the coil doesn’t shift during tightening.
Important: Do not force the coil against the flywheel. The gap must be consistent around the entire circumference. Spin the flywheel by hand to check for rubbing.
Using a Business Card Trick
If you don’t have a feeler gauge, use a standard business card (about 0.008 inches thick) as a temporary spacer. Slide it between the coil and flywheel, then tighten the coil. Remove the card—it should slide out with slight resistance.
Step 6: Inspect Wiring and Ground Connections
Even with a good coil and flywheel, poor wiring or grounding can prevent spark.
Common Wiring Issues
- Corroded or loose connections at the coil
- Frayed or broken wires
- Faulty grounding strap between the coil and engine block
How to Check Grounding
- Locate the ground wire from the ignition coil (usually black or brown).
- Ensure it’s securely bolted to a clean, unpainted metal surface on the engine.
- Use a multimeter to test continuity between the coil ground terminal and the engine block. You should see near-zero resistance.
Pro Tip: Clean all grounding points with sandpaper or a wire brush to remove rust or paint. A poor ground is a silent killer of ignition systems.
Step 7: Verify Kill Switch and Safety Interlocks
Many GCV160 engines have a kill switch or safety interlock (e.g., on a mower deck engagement lever) that grounds the ignition coil to stop the engine. If this circuit is stuck closed, it can prevent spark even when the engine is trying to start.
How to Test the Kill Switch
- Locate the kill switch wire (usually connected to the coil or a separate terminal).
- Disconnect it temporarily.
- Test for spark again.
If spark returns, the kill switch or its wiring is faulty. Inspect the switch for damage, corrosion, or misalignment. Replace if necessary.
Troubleshooting Common Scenarios
Here are some real-world situations and how to fix them:
Scenario 1: Engine Backfired, Now No Spark
Likely Cause: Sheared flywheel key. The sudden reverse torque can snap the key, misaligning the flywheel.
Solution: Remove the flywheel and inspect the key. Replace if damaged and ensure proper reassembly.
Scenario 2: Spark Returns After Cooling Down
Likely Cause: Overheating ignition coil. Coils can fail when hot but work when cold.
Solution: Replace the coil. Ensure adequate airflow around the engine during operation.
Scenario 3: Intermittent Spark
Likely Cause: Loose wiring or failing coil.
Solution: Wiggle wires while testing for spark. If it flickers, trace and secure all connections.
Conclusion: Get Your GCV160 Running Again
A no-spark condition on your Honda GCV160 can be frustrating, but with a systematic approach, it’s usually fixable. Start with the spark plug—it’s the most common and easiest fix. Then move to the flywheel key, ignition coil, air gap, and wiring. Each step brings you closer to identifying the root cause.
Remember: Safety first. Always disconnect the spark plug wire and let the engine cool before working. Use proper tools, especially a flywheel puller, to avoid damage.
By following this guide, you’ll not only restore spark but also gain a deeper understanding of how your engine’s ignition system works. Whether you’re maintaining a lawn mower or a backup generator, these skills will save you time and money.
Don’t let a no-spark issue keep you grounded. With patience and the right troubleshooting steps, your GCV160 will be back to reliable performance in no time.