
If your Honda GCV160 engine is bogging down, the flywheel could be the culprit. This guide walks you through diagnosing and fixing common flywheel-related issues, from loose bolts to damaged fins, to get your engine running smoothly again.
Key Takeaways
- Check the flywheel key first: A sheared or damaged flywheel key is the most common cause of bogging and loss of power.
- Inspect for loose flywheel bolts: Over time, vibrations can loosen the flywheel, causing imbalance and poor engine performance.
- Clean the cooling fins: Clogged or damaged fins reduce airflow, leading to overheating and engine bogging.
- Verify proper magnet alignment: The flywheel magnets must align correctly with the ignition coil for consistent spark.
- Use a torque wrench: Always tighten flywheel bolts to the manufacturer’s specified torque to prevent damage or failure.
- Test the ignition system: Rule out coil or spark plug issues before assuming the flywheel is at fault.
- Replace worn parts promptly: Delaying repairs can lead to more serious engine damage over time.
Quick Answers to Common Questions
Tip/Question?
Can I reuse a slightly damaged flywheel key?
No—always replace a damaged key. Even minor wear can cause timing issues and engine bogging.
Tip/Question?
How tight should the flywheel nut be?
Tighten to 25–30 ft-lbs using a torque wrench. Over-tightening can crack the flywheel or damage the crankshaft.
Tip/Question?
Do I need a special tool to remove the flywheel?
Yes—a flywheel puller is essential. Prying it off can damage the flywheel or crankshaft.
Tip/Question?
Can a dirty flywheel cause overheating?
Absolutely. Clogged fins reduce airflow, leading to overheating and performance loss.
Tip/Question?
Should I replace the ignition coil if the engine still bogs?
Only after confirming the flywheel, key, and spark plug are good. Test the coil with a multimeter first.
Introduction: Why Your GCV160 Engine Is Bogging Down
If you’re using a Honda GCV160 engine—whether on a lawn mower, pressure washer, or generator—and it’s suddenly bogging down under load, sputtering, or losing power, you’re not alone. This is a common issue that many small engine owners face. While there are several possible causes, one often-overlooked culprit is the flywheel. The flywheel plays a critical role in engine operation: it stores rotational energy, helps cool the engine with its fins, and houses magnets that trigger the ignition system. When something goes wrong with the flywheel, it can directly affect engine performance.
In this comprehensive troubleshooting guide, you’ll learn how to diagnose and fix flywheel-related problems that cause your GCV160 to bog down. We’ll walk you through step-by-step checks, from inspecting the flywheel key to ensuring proper alignment and torque. You’ll also learn how to clean cooling fins, test the ignition system, and avoid common mistakes. By the end, you’ll have the tools and knowledge to restore your engine to peak performance—without needing to call a mechanic.
Understanding the Flywheel’s Role in the GCV160 Engine
Before diving into troubleshooting, it’s important to understand what the flywheel does and why it matters. The flywheel is a heavy, circular metal disc attached to the engine’s crankshaft. On the GCV160, it serves three main functions:
- Energy storage: As the engine runs, the flywheel stores kinetic energy during the power stroke and releases it during other strokes, helping maintain smooth rotation.
- Cooling: The flywheel has curved fins that spin with the engine, pulling air through the engine housing to cool critical components like the cylinder head and carburetor.
- Ignition timing: Embedded in the flywheel are powerful magnets. As they pass the ignition coil, they generate the electrical pulse needed to fire the spark plug at the right moment.
If any of these functions are compromised—due to damage, misalignment, or wear—the engine can bog down, especially under load. For example, if the flywheel key is sheared, the timing between the crankshaft and flywheel shifts, causing misfires. Or if the cooling fins are clogged with grass and debris, the engine overheats and loses power. Understanding these roles helps you pinpoint the root cause faster.
Step 1: Safety First – Preparing for Flywheel Inspection
Before you begin any work on your GCV160 engine, safety is paramount. Small engines can be dangerous if not handled properly. Follow these steps to protect yourself and your equipment:
Disconnect the Spark Plug
Always disconnect the spark plug wire and secure it away from the spark plug terminal. This prevents accidental engine starts while you’re working. Use a spark plug wrench to remove the plug completely if needed.

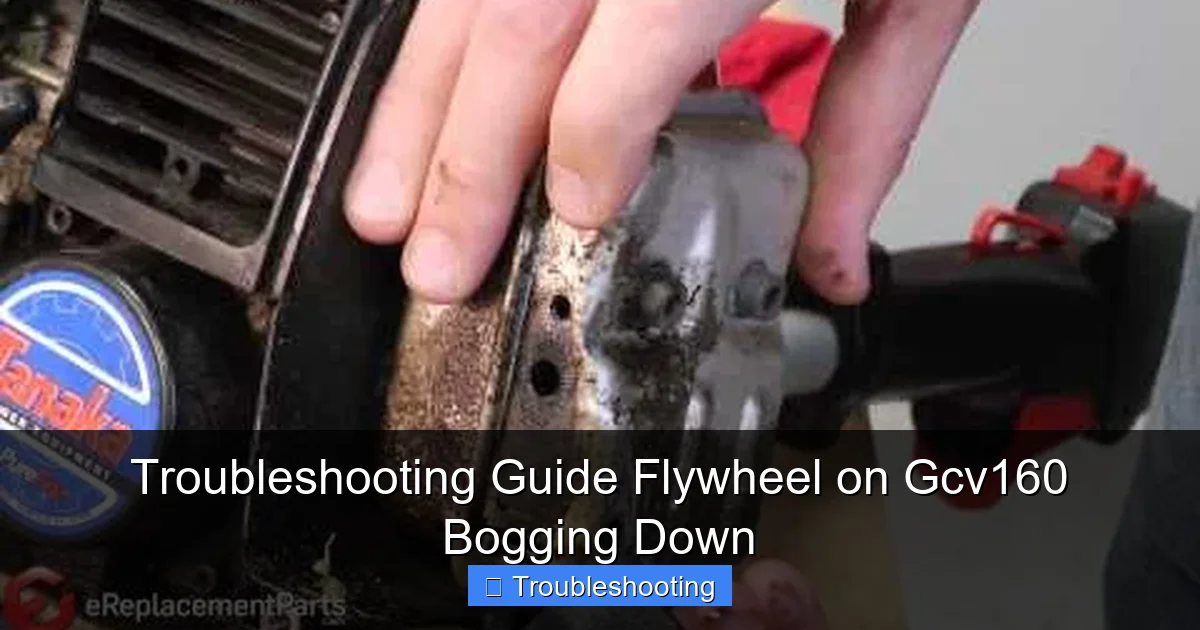
Visual guide about Troubleshooting Guide Flywheel on Gcv160 Bogging Down
Image source: ecotrimforce.com
Visual guide about Troubleshooting Guide Flywheel on Gcv160 Bogging Down
Image source: thrivingyard.com
Allow the Engine to Cool
Never work on a hot engine. Let the GCV160 cool for at least 30 minutes after use. Hot components can cause burns, and residual heat can affect your diagnosis.
Work in a Clean, Well-Lit Area
Choose a flat, stable work surface with good lighting. Keep tools organized and within reach. A clean workspace reduces the risk of losing small parts like the flywheel key.
Wear Protective Gear
Wear safety glasses to protect your eyes from debris, and consider gloves to protect your hands from sharp edges or hot surfaces.
Gather the Right Tools
You’ll need a few basic tools: a socket wrench set (typically 10mm or 12mm for the flywheel nut), a flywheel puller (essential for safe removal), a torque wrench, a flathead screwdriver, and a clean rag. Having these ready saves time and frustration.
Step 2: Diagnosing the Bogging Issue – Is It the Flywheel?
Not every bogging problem is caused by the flywheel. Before disassembling the engine, rule out other common causes. Use this checklist to narrow down the issue:
Check the Air Filter
A clogged air filter restricts airflow, causing a rich fuel mixture and engine bogging. Remove the air filter cover and inspect the filter. If it’s dirty or clogged, clean or replace it.
Inspect the Fuel System
Stale fuel, a clogged fuel filter, or a dirty carburetor can all cause performance issues. Drain old fuel and replace it with fresh gasoline. Check the fuel line for kinks or blockages.
Test the Spark Plug
Remove the spark plug and inspect it. Look for fouling, cracks, or excessive wear. Use a spark plug tester to verify it’s firing properly. Replace if necessary.
Listen for Unusual Noises
Start the engine and listen carefully. A knocking or rattling sound from the flywheel area could indicate a loose flywheel or damaged key. A whining noise might point to bearing issues.
Observe Engine Behavior Under Load
Run the engine and apply a load (e.g., engage the mower blade). If it bogs down only under load, it’s more likely a mechanical issue like a loose flywheel or timing problem.
If you’ve ruled out air, fuel, and spark issues, and the engine still bogs—especially under load—it’s time to inspect the flywheel.
Step 3: Removing the Flywheel – Step-by-Step
Removing the flywheel requires care and the right tools. Follow these steps carefully to avoid damage.
Locate the Flywheel Nut
The flywheel is held in place by a large nut on the end of the crankshaft. On the GCV160, this is usually a 10mm or 12mm nut, depending on the model. It’s often located under a plastic or metal cover on the side of the engine.
Secure the Crankshaft
To prevent the crankshaft from turning while you loosen the nut, you’ll need to lock it in place. One method is to use a flywheel holder tool. Alternatively, you can wedge a screwdriver into the starter gear (if accessible) or use a strap wrench.
Loosen the Flywheel Nut
Use a socket wrench to turn the nut counterclockwise. It may be tight, so apply steady pressure. Do not use impact tools unless absolutely necessary, as they can damage the crankshaft threads.
Use a Flywheel Puller
Once the nut is removed, do not try to pry the flywheel off with a screwdriver—this can crack or warp it. Instead, use a flywheel puller. Attach the puller to the flywheel using the threaded holes, then tighten the center bolt slowly until the flywheel pops free.
Remove the Flywheel Carefully
Lift the flywheel straight off the crankshaft. Avoid dropping it, as the magnets are fragile and the fins can bend.
Step 4: Inspecting the Flywheel – What to Look For
With the flywheel removed, you can now inspect it for damage or wear. Look for these common issues:
Check the Flywheel Key
The flywheel key is a small, half-moon-shaped piece of metal that fits into a slot on the crankshaft and a corresponding groove in the flywheel. It ensures the flywheel rotates in sync with the crankshaft. If the key is sheared, damaged, or missing, the timing will be off, causing bogging or no start.
Inspect the key for cracks, flattening, or wear. If it’s damaged, replace it with an exact match. Never reuse a damaged key.
Inspect the Flywheel Fins
The cooling fins should be straight, clean, and free of cracks. Bent or broken fins reduce airflow, leading to overheating. Use a small file or pliers to straighten minor bends. Replace the flywheel if more than 20% of the fins are damaged.
Check for Cracks or Warping
Look for hairline cracks around the center hub or between the fins. Use a flashlight to inspect hard-to-see areas. A warped flywheel can cause imbalance and vibration. If in doubt, have it checked with a dial indicator.
Examine the Magnets
The magnets should be securely embedded and free of chips or corrosion. If a magnet is loose or damaged, it can disrupt the ignition signal, causing misfires or bogging.
Inspect the Crankshaft End
While the flywheel is off, check the crankshaft for scoring, wear, or damage to the keyway. A damaged keyway can prevent proper key seating.
Step 5: Replacing the Flywheel Key
If the flywheel key is damaged, replacing it is a simple but critical repair.
Remove the Old Key
Use needle-nose pliers or a small pick to carefully remove the old key from the crankshaft keyway. Clean out any debris or metal shavings.
Install the New Key
Insert the new key into the keyway, ensuring it sits flush and is oriented correctly. The flat side should face the crankshaft, and the curved side should match the flywheel groove.
Test Fit the Flywheel
Slide the flywheel back onto the crankshaft to confirm the key aligns properly. It should fit snugly without forcing.
Secure the Flywheel
Once aligned, reattach the flywheel and tighten the nut to the manufacturer’s torque specification (typically 25–30 ft-lbs for the GCV160). Use a torque wrench for accuracy.
Step 6: Reinstalling the Flywheel – Best Practices
Proper reinstallation is just as important as removal. Follow these steps to ensure a secure fit.
Clean the Crankshaft and Flywheel Hub
Use a clean rag to wipe away oil, dirt, or debris from the crankshaft and flywheel mounting surface. Contaminants can prevent proper seating.
Align the Key and Keyway
Carefully slide the flywheel onto the crankshaft, making sure the key fits into the keyway. Rotate the flywheel slightly if needed to align it.
Tighten the Flywheel Nut
Thread the nut by hand first, then use a torque wrench to tighten it to spec. Over-tightening can damage the crankshaft; under-tightening can cause the flywheel to loosen.
Reconnect the Spark Plug
Once the flywheel is secure, reinstall the spark plug and reconnect the wire.
Step 7: Testing the Engine After Repair
After reassembly, it’s time to test your work.
Start the Engine
Pull the starter cord or use the electric start. The engine should fire up smoothly.
Listen for Abnormal Sounds
Run the engine at idle and listen for knocking, rattling, or whining. These could indicate improper installation or remaining issues.
Apply a Load
Engage the blade, pump, or generator load. The engine should run steadily without bogging or losing RPMs.
Monitor Temperature
Let the engine run for 5–10 minutes and check for overheating. If it gets excessively hot, recheck the cooling fins and airflow.
Troubleshooting Common Post-Repair Issues
Even after a proper repair, you might encounter issues. Here’s how to address them:
Engine Still Bogs Under Load
If the problem persists, double-check the flywheel key and torque. Also, inspect the ignition coil gap—it should be 0.006–0.008 inches. Adjust if necessary.
Excessive Vibration
This could mean the flywheel is unbalanced or the key is not seated properly. Recheck alignment and torque.
No Spark or Weak Spark
Verify the magnets are intact and the coil is properly gapped. Test the ignition coil with a multimeter if needed.
Preventive Maintenance Tips
To avoid future flywheel issues, follow these maintenance practices:
- Clean the engine housing and flywheel fins regularly to prevent overheating.
- Inspect the flywheel key during routine tune-ups.
- Use fresh fuel and stabilize it if storing the engine for more than 30 days.
- Replace the spark plug annually or as recommended.
- Store the equipment in a dry, covered area to prevent corrosion.
Conclusion: Restoring Power to Your GCV160
A bogging GCV160 engine can be frustrating, but with the right approach, it’s often a fixable issue. By focusing on the flywheel—checking the key, bolts, fins, and alignment—you can resolve many performance problems quickly and affordably. Remember to always prioritize safety, use the correct tools, and follow torque specifications. With regular maintenance and prompt repairs, your GCV160 will deliver reliable power for years to come.