
If your Honda GCV160 engine stalls at idle or under load, the flywheel may be the culprit. This guide walks you through diagnosing and fixing common flywheel-related issues like loose bolts, damaged fins, or ignition problems—safely and effectively.
Key Takeaways
- Check flywheel bolts first: Loose or sheared flywheel bolts are a top cause of stalling and vibration on the GCV160.
- Inspect for physical damage: Cracked fins, warping, or debris buildup can disrupt airflow and cooling, leading to overheating and stalling.
- Test the ignition system: A failing ignition coil or faulty spark plug can mimic flywheel issues—always rule these out early.
- Ensure proper key alignment: A sheared or misaligned flywheel key causes timing loss and sudden engine shutdown.
- Clean the cooling system: Clogged cooling fins reduce airflow, causing the engine to overheat and stall during operation.
- Use proper tools and torque specs: Reinstalling the flywheel requires a flywheel puller and correct torque (typically 55–65 ft-lbs) to avoid damage.
- Safety first: Always disconnect the spark plug and let the engine cool before working on the flywheel.
Quick Answers to Common Questions
Tip/Question?
Can I tighten flywheel bolts without a torque wrench?
While possible, it’s not recommended. Over-tightening can crack the flywheel; under-tightening causes loosening. Use a torque wrench for accuracy.
Tip/Question?
How often should I inspect the flywheel?
Inspect it annually or after any impact, overheating, or unusual vibration. Preventive checks save time and money.
Tip/Question?
Is it safe to reuse a slightly worn flywheel key?
No. Even minor wear can lead to timing loss. Always replace a damaged or questionable key with a new one.
Tip/Question?
Can a dirty flywheel cause stalling?
Yes. Debris blocks cooling airflow, leading to overheating and stalling. Clean the fins regularly.
Tip/Question?
Should I replace the ignition coil when servicing the flywheel?
Only if testing shows it’s faulty. A good coil can last many years—don’t replace it unnecessarily.
Introduction: Why Your GCV160 Might Be Stalling
If you’re using a Honda GCV160 engine—whether on a lawn mower, pressure washer, or generator—you expect reliable, consistent performance. But when the engine starts fine, then stalls at idle or under light load, it’s frustrating and confusing. One often-overlooked cause is the flywheel. While it may seem like a simple rotating mass, the flywheel plays a critical role in engine timing, cooling, and smooth operation. When something goes wrong with the flywheel or its components, stalling becomes a common symptom.
In this guide, you’ll learn how to diagnose and fix flywheel-related stalling issues on the Honda GCV160. We’ll walk you through step-by-step inspections, common problems like loose bolts or damaged fins, and how to safely remove, inspect, and reinstall the flywheel. Whether you’re a DIY homeowner or a small equipment technician, this guide will help you get your engine running smoothly again—without unnecessary part replacements or costly repairs.
Understanding the Flywheel’s Role in the GCV160
Visual guide about Troubleshooting Guide Flywheel on Gcv160 Stalling
Image source: s1.cdn.autoevolution.com
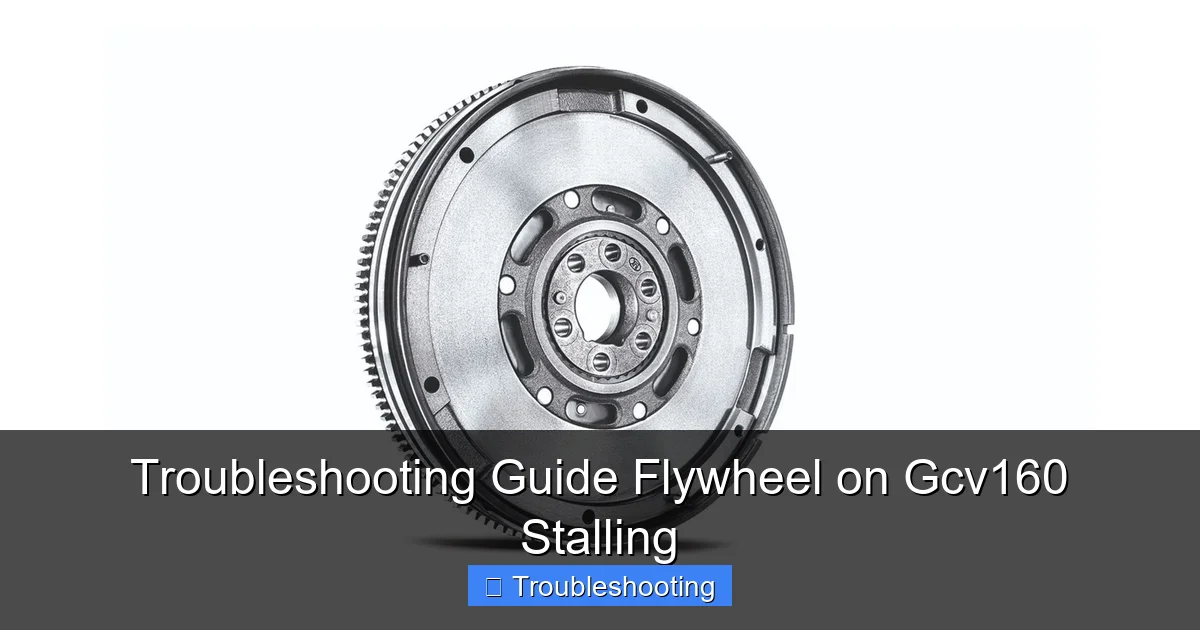
Before diving into troubleshooting, it helps to understand what the flywheel does. On the Honda GCV160, the flywheel is mounted directly to the engine’s crankshaft. It serves several key functions:
– Engine Timing: The flywheel has a keyway that aligns with a Woodruff key on the crankshaft. This ensures the ignition timing stays accurate. If the key shears or shifts, timing is lost, and the engine may stall or fail to start.
– Cooling: The flywheel has curved fins that spin with the crankshaft, creating airflow over the engine’s cylinder head and cooling fins. Without proper airflow, the engine overheats and stalls.
– Smooth Operation: The flywheel’s mass helps maintain momentum between power strokes, reducing vibration and ensuring smooth idle.
– Ignition Trigger: A magnet embedded in the flywheel passes by the ignition coil, generating the spark signal. If the magnet is damaged or the gap is incorrect, spark timing suffers.
Because the flywheel is involved in so many critical systems, even a small issue can cause big problems—like stalling.
Common Symptoms of Flywheel-Related Stalling
Visual guide about Troubleshooting Guide Flywheel on Gcv160 Stalling
Image source: s1.cdn.autoevolution.com
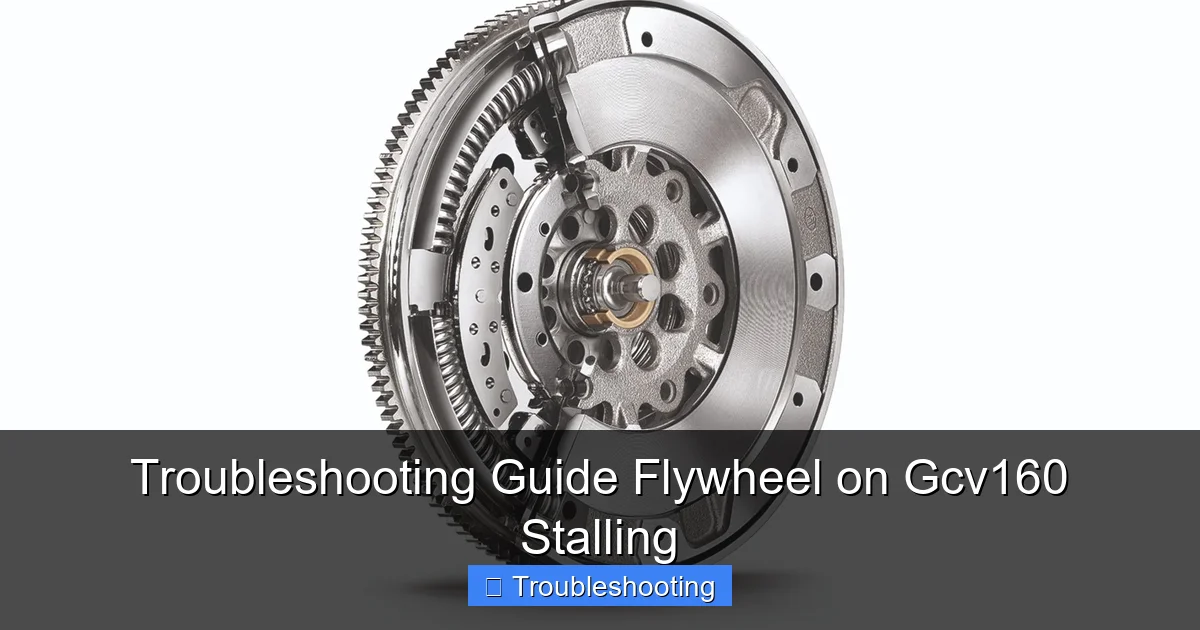
Not all stalling is caused by the flywheel, but certain signs point directly to it. Watch for these symptoms:
– Engine starts but dies within seconds or minutes
– Stalling occurs more frequently when the engine is warm
– Rough idle or inconsistent RPMs
– Visible vibration or wobbling from the engine top
– Scraping or grinding noise from the flywheel area
– Overheating, even with clean air filters
If you notice any of these, especially after a hard impact or if the engine was recently serviced, the flywheel should be inspected.
Safety First: Preparing to Work on the Flywheel
Working on the flywheel involves rotating parts, high torque, and potential electrical hazards. Follow these safety steps before beginning:
Disconnect the Spark Plug
Always remove the spark plug wire and ground it away from the plug terminal. This prevents accidental engine startup while you’re working.
Let the Engine Cool
The flywheel and engine block can get extremely hot during operation. Wait at least 30 minutes after use before touching any components.
Work in a Clean, Well-Lit Area
Dirt and debris can fall into the engine when the flywheel is removed. Use a clean workspace and good lighting to see small parts like the flywheel key.
Use Proper Tools
You’ll need:
– Flywheel puller (specific to GCV160)
– Socket wrench set (10mm, 12mm, 14mm)
– Torque wrench
– Screwdrivers
– Pliers
– Clean rags
– Safety glasses and gloves
Never use makeshift tools or excessive force—this can damage the crankshaft or flywheel.
Step 1: Rule Out Other Common Causes
Before assuming the flywheel is the problem, eliminate simpler issues that can mimic stalling.
Check the Fuel System
– Ensure fresh fuel is used (old gas clogs carburetors).
– Inspect the fuel line for cracks or blockages.
– Clean or replace the fuel filter if present.
– Check the carburetor for dirt or varnish buildup.
Inspect the Air Filter
A clogged air filter restricts airflow, causing a rich fuel mixture and stalling. Remove and clean or replace it.
Test the Spark Plug
Remove the spark plug and check for:
– Fouling (black, sooty deposits)
– Wet fuel (indicating flooding)
– Cracks or worn electrodes
Replace if necessary. A weak spark can cause intermittent stalling.
Verify Ignition Coil Function
Use an ignition coil tester or multimeter to check resistance. A failing coil may not generate enough spark, especially when hot.
Only after ruling out these issues should you proceed to the flywheel.
Step 2: Inspect the Flywheel for Visible Damage
With the engine cool and spark plug disconnected, visually inspect the flywheel.
Look for Loose or Missing Bolts
The flywheel is secured to the crankshaft with three bolts (typically 10mm or 12mm). Check each bolt:
– Are they tight?
– Is there any sign of shearing or rounding?
– Is the bolt head flush with the flywheel surface?
Loose bolts can cause the flywheel to wobble, disrupting timing and airflow.
Check for Cracks or Warping
Inspect the flywheel fins and center hub for:
– Cracks, especially near bolt holes
– Warping (use a straightedge to check flatness)
– Bent or broken cooling fins
Even a small crack can grow under stress and cause imbalance.
Look for Debris or Buildup
Grass clippings, dirt, or oil can accumulate around the flywheel and cooling fins. This blocks airflow and causes overheating.
Use a brush or compressed air to clean the area. Never use water near electrical components.
Listen for Unusual Noises
With the spark plug disconnected, manually rotate the engine (via the starter cord or pulley). Listen for:
– Grinding or scraping sounds
– Clicking (could indicate a loose key or bolt)
– Wobbling or uneven rotation
These noises often point to internal flywheel issues.
Step 3: Remove the Flywheel Safely
If inspection suggests a problem, you’ll need to remove the flywheel for closer examination.
Remove the Engine Shroud
Unscrew the bolts holding the engine’s top cover (shroud). Carefully lift it off, noting wire positions if any sensors are attached.
Secure the Crankshaft
To prevent the crankshaft from turning while loosening the flywheel bolts, use a flywheel holder tool or wedge a screwdriver in the starter clutch (if equipped). Never use the piston stop method unless specified—it can damage the engine.
Loosen the Flywheel Bolts
Use a socket wrench to loosen the three flywheel bolts in a crisscross pattern. Do not remove them completely yet.
Attach the Flywheel Puller
Thread the puller bolts into the designated holes on the flywheel (usually two threaded holes near the center). Tighten the puller center bolt slowly and evenly until the flywheel pops free.
Warning: Do not strike the flywheel with a hammer. This can damage the crankshaft or magnet.
Remove the Flywheel
Once loose, carefully lift the flywheel off the crankshaft. Note the position of the Woodruff key in the keyway—it must be reinstalled correctly.
Step 4: Inspect the Flywheel and Keyway
With the flywheel removed, perform a detailed inspection.
Check the Flywheel Key
The Woodruff key sits in a slot on the crankshaft and fits into a matching slot in the flywheel. Look for:
– Shearing (the key is split or flattened)
– Wear or deformation
– Proper fit (should be snug, not loose)
A sheared key is a common cause of timing loss and stalling. Replace it if damaged.
Inspect the Keyway Slots
Check both the crankshaft and flywheel keyways for:
– Cracks or elongation
– Metal shavings (sign of movement)
– Corrosion or pitting
If the slots are damaged, the flywheel or crankshaft may need professional repair.
Test the Flywheel Magnet
The magnet embedded in the flywheel triggers the ignition coil. Check for:
– Cracks or chips in the magnet
– Secure bonding (should not move)
– Proper alignment with the coil
Use a multimeter to test the coil’s air gap (typically 0.3–0.5mm). Adjust if necessary.
Clean the Flywheel
Use a wire brush and solvent to remove carbon buildup, oil, or debris from the fins and surface. Dry thoroughly.
Step 5: Reinstall the Flywheel Correctly
Reassembly must be done carefully to avoid future problems.
Install a New Key (If Needed)
If the key is damaged, replace it with an OEM-spec Woodruff key. Tap it gently into place with a soft hammer—do not force it.
Align the Flywheel
Slide the flywheel onto the crankshaft, ensuring the key aligns with both slots. The flywheel should sit flush.
Tighten the Bolts to Spec
Use a torque wrench to tighten the three bolts in a crisscross pattern to 55–65 ft-lbs (75–88 Nm). Over-tightening can crack the flywheel; under-tightening causes loosening.
Reattach the Shroud
Replace the engine shroud and secure all bolts. Reconnect any wires.
Reconnect the Spark Plug
Reattach the spark plug wire and ensure it’s firmly seated.
Step 6: Test the Engine
Start the engine and observe:
– Does it idle smoothly?
– Does it stall under load?
– Is there any vibration or noise?
Let it run for 5–10 minutes to reach operating temperature. If stalling persists, recheck your work or consider professional help.
Troubleshooting Persistent Stalling
If the engine still stalls after flywheel repair, consider these additional causes:
– Carburetor Issues: A clogged jet or faulty float can cause fuel delivery problems.
– Governer Problems: The mechanical governor may be sticking, causing RPM fluctuations.
– Valve Clearance: Incorrect valve lash can affect idle stability.
– Exhaust Blockage: A clogged muffler restricts exhaust flow, leading to stalling.
Use a process of elimination to identify the root cause.
Preventing Future Flywheel Problems
To avoid repeat issues:
– Inspect the flywheel bolts annually or after hard impacts.
– Keep the engine clean and free of debris.
– Use only OEM or high-quality replacement parts.
– Store equipment properly to prevent moisture and corrosion.
Regular maintenance goes a long way in preventing stalling.
Conclusion: Get Your GCV160 Running Smoothly Again
Stalling on a Honda GCV160 can be frustrating, but with the right approach, it’s often fixable. By focusing on the flywheel—checking for loose bolts, damaged fins, sheared keys, and ignition issues—you can resolve many common problems without replacing major components. Remember to work safely, use the correct tools, and follow torque specifications. With this guide, you’re equipped to diagnose and repair flywheel-related stalling confidently. Your engine will thank you with reliable, smooth operation season after season.