
If your Honda GCV160 engine’s flywheel is smoking, it’s often due to overheating, oil leaks, or debris buildup. This guide walks you through diagnosing and fixing the issue safely and effectively, helping you get your engine running smoothly again.
Key Takeaways
- Smoke from the flywheel usually signals overheating or oil contamination. Identifying the root cause early prevents engine damage.
- Always disconnect the spark plug before inspecting the flywheel. Safety is critical when working with rotating engine parts.
- Check for oil leaks from the crankcase or valve cover. Excess oil dripping onto the hot flywheel creates smoke and foul odors.
- Clean debris and grass buildup around the flywheel and cooling fins. Blocked airflow reduces cooling and increases heat.
- Inspect the flywheel key and mounting bolt for damage. A sheared key or loose bolt can cause misalignment and friction.
- Ensure proper engine oil level and quality. Overfilling or degraded oil contributes to smoking and overheating.
- Replace damaged components like gaskets or seals promptly. Preventative maintenance avoids recurring issues.
Quick Answers to Common Questions
Tip/Question?
Can I use water to clean the flywheel area?
Answer: Avoid using water unless absolutely necessary and the engine is completely cool. Water can cause rust or short electrical components. Use compressed air or a dry brush instead.
Tip/Question?
How often should I check the oil level on my GCV160?
Answer: Check the oil level before each use, especially if the engine smokes or runs hot. Frequent checks help catch leaks or overfilling early.
Tip/Question?
Is it safe to run the engine if the flywheel is smoking?
Answer: No. Continuing to run a smoking engine can cause severe damage. Shut it off immediately and inspect for oil leaks, debris, or mechanical issues.
Tip/Question?
Can a damaged flywheel key cause engine vibration?
Answer: Yes. A sheared or worn key allows the flywheel to slip, causing imbalance, vibration, and potential damage to the crankshaft or ignition system.
Tip/Question?
Should I replace the flywheel if it’s slightly discolored?
Answer: Minor discoloration from heat is normal. Replace the flywheel only if it’s warped, cracked, or has deep scoring that affects balance.
Introduction: Why Is Your GCV160 Flywheel Smoking?
If you’ve noticed smoke rising from the flywheel area of your Honda GCV160 engine—whether it’s on a lawn mower, pressure washer, or generator—it’s a sign something isn’t right. The GCV160 is a reliable, compact engine used in many outdoor power tools, but like any mechanical system, it can develop issues over time. A smoking flywheel is not just alarming; it can indicate underlying problems that, if ignored, may lead to costly repairs or engine failure.
In this comprehensive troubleshooting guide, you’ll learn how to safely diagnose and fix a smoking flywheel on your GCV160. We’ll walk you through step-by-step inspections, common causes, and practical solutions—all explained in simple, easy-to-follow language. Whether you’re a DIY enthusiast or a first-time troubleshooter, this guide will help you restore your engine’s performance and prevent future smoking issues.
Understanding the Flywheel and Its Role
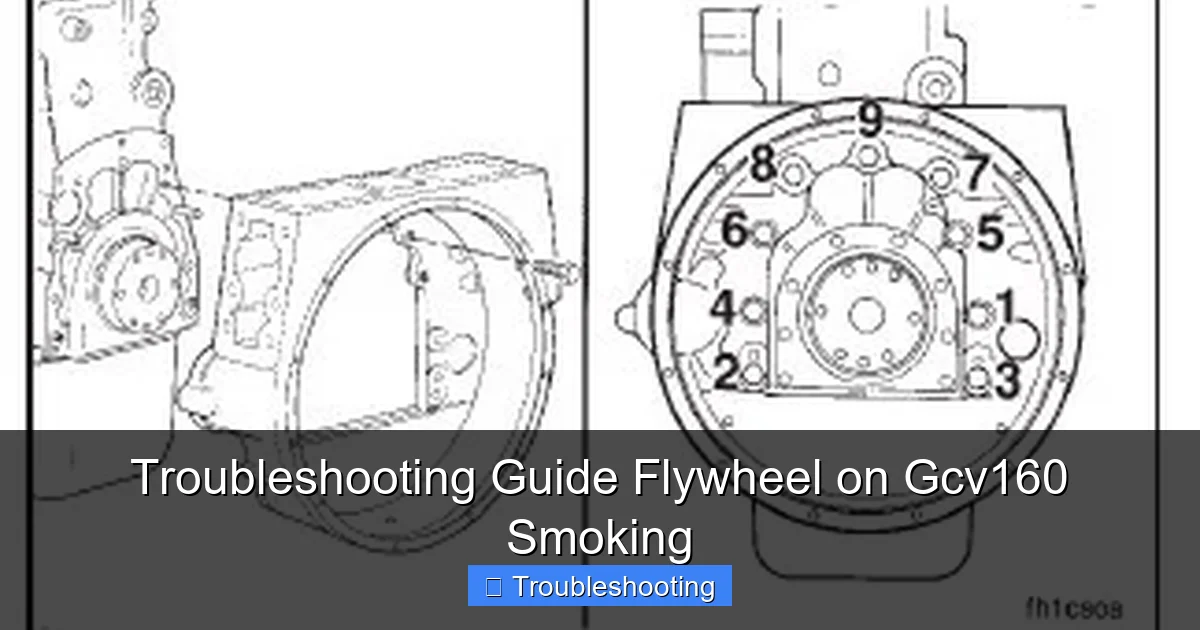
Before diving into fixes, it helps to understand what the flywheel does. The flywheel is a heavy, rotating disc attached to the engine’s crankshaft. Its main jobs are to store rotational energy, help smooth out engine pulses, and assist in starting the engine. On the GCV160, the flywheel also has cooling fins and often houses magnets that work with the ignition system.
Visual guide about Troubleshooting Guide Flywheel on Gcv160 Smoking
Image source: dieselmechanic.info
Because the flywheel spins at high speeds and generates heat, it’s surrounded by airflow from a cooling fan. If something disrupts this cooling—like oil, debris, or mechanical stress—the flywheel can overheat and begin to smoke. Recognizing the flywheel’s function helps you appreciate why even small issues can lead to visible smoke.
Safety First: Preparing to Work on Your GCV160
Working on any engine requires caution. The flywheel spins rapidly and can cause serious injury if the engine accidentally starts. Follow these safety steps before beginning any inspection or repair:
Visual guide about Troubleshooting Guide Flywheel on Gcv160 Smoking
Image source: partstree.com
Disconnect the Spark Plug
Always remove the spark plug wire and cap it away from the plug terminal. This prevents accidental ignition while you’re working. Use a spark plug wrench to remove the plug and inspect it for signs of oil fouling or wear.
Allow the Engine to Cool
Never work on a hot engine. Let the GCV160 cool for at least 30 minutes after use. Hot components can cause burns, and residual heat may affect your diagnosis.
Work in a Well-Ventilated Area
Smoke and fumes from burning oil or debris can be harmful. Perform all work outdoors or in a garage with the door open. Avoid enclosed spaces.
Wear Protective Gear
Use safety glasses to protect your eyes from flying debris and gloves to shield your hands from sharp edges or hot surfaces.
Secure the Engine
If the engine is mounted on equipment like a mower, ensure it’s stable and won’t tip over. Use a stand or secure it with clamps if necessary.
Step 1: Identify the Source of the Smoke
Not all smoke is the same. The color, smell, and location can give you clues about the cause. Observe the smoke carefully the next time the engine runs.
White or Blue Smoke
This usually indicates burning oil. Oil may be leaking onto the hot flywheel from the crankcase, valve cover, or oil filler cap. Blue smoke often means oil is entering the combustion chamber, but on the flywheel, it’s more likely external oil contact.
Gray or Black Smoke
Gray smoke might suggest overheating or electrical issues, such as arcing from the ignition coil. Black smoke is less common from the flywheel but could mean carbon buildup or excessive fuel mixture affecting overall engine temperature.
Burning Plastic or Rubber Smell
If the smoke has a chemical or plastic odor, check for melted wiring insulation or debris like plastic bags stuck near the flywheel. Grass clippings or rubber parts can also burn when trapped.
Location of Smoke
Note exactly where the smoke is coming from. Is it rising from the top of the engine near the flywheel cover? Or is it near the base where the crankshaft meets the engine block? This helps narrow down whether it’s an oil leak, debris issue, or internal problem.
Step 2: Inspect for Oil Leaks
Oil leaks are one of the most common causes of flywheel smoking on the GCV160. Oil dripping onto the spinning flywheel heats up and burns, creating smoke and a strong odor.
Check the Valve Cover Gasket
The valve cover sits on top of the engine and seals the rocker arms. Over time, the gasket can harden or crack, allowing oil to seep out. Look for oil residue around the edges of the valve cover. If you see fresh oil or crusty buildup, the gasket likely needs replacing.
Inspect the Oil Filler Cap and Breather Tube
A loose or damaged oil cap can let oil splash out during operation. Also, check the breather tube—a small hose that vents crankcase pressure. If it’s clogged or disconnected, pressure builds up and forces oil out through seals.
Examine the Crankshaft Seal
The crankshaft seal prevents oil from leaking where the shaft exits the engine. If this seal is worn or damaged, oil can drip directly onto the flywheel. Look for oil trails leading from the engine base toward the flywheel. Replacing a crankshaft seal requires partial engine disassembly and is best done with experience or professional help.
Check for Overfilled Oil
Too much oil in the crankcase increases internal pressure and can force oil past seals. Check the oil level using the dipstick. The oil should be between the “L” and “H” marks. If it’s above “H,” drain the excess using the oil drain plug.
Step 3: Clean Debris and Grass Buildup
Outdoor equipment like lawn mowers often suck in grass, leaves, and dirt. This debris can accumulate around the flywheel and cooling fins, blocking airflow and causing overheating.
Remove the Flywheel Cover
Use a socket wrench to remove the bolts securing the flywheel cover (also called the blower housing). Carefully lift it off to expose the flywheel and cooling fan.
Brush Away Debris
Use a stiff brush or compressed air to clean out grass, dirt, and dust from around the flywheel, cooling fins, and fan blades. Pay special attention to tight spaces where debris packs in. Avoid using water unless the engine is completely cool and dry afterward.
Inspect the Cooling Fan
Make sure the fan blades are intact and not cracked or bent. Damaged blades reduce airflow and contribute to overheating. If a blade is broken, replace the entire fan assembly.
Check for Obstructions
Ensure nothing is blocking the air intake or exhaust areas. A clogged muffler or blocked air filter can also increase engine temperature, indirectly affecting the flywheel.
Step 4: Examine the Flywheel and Key
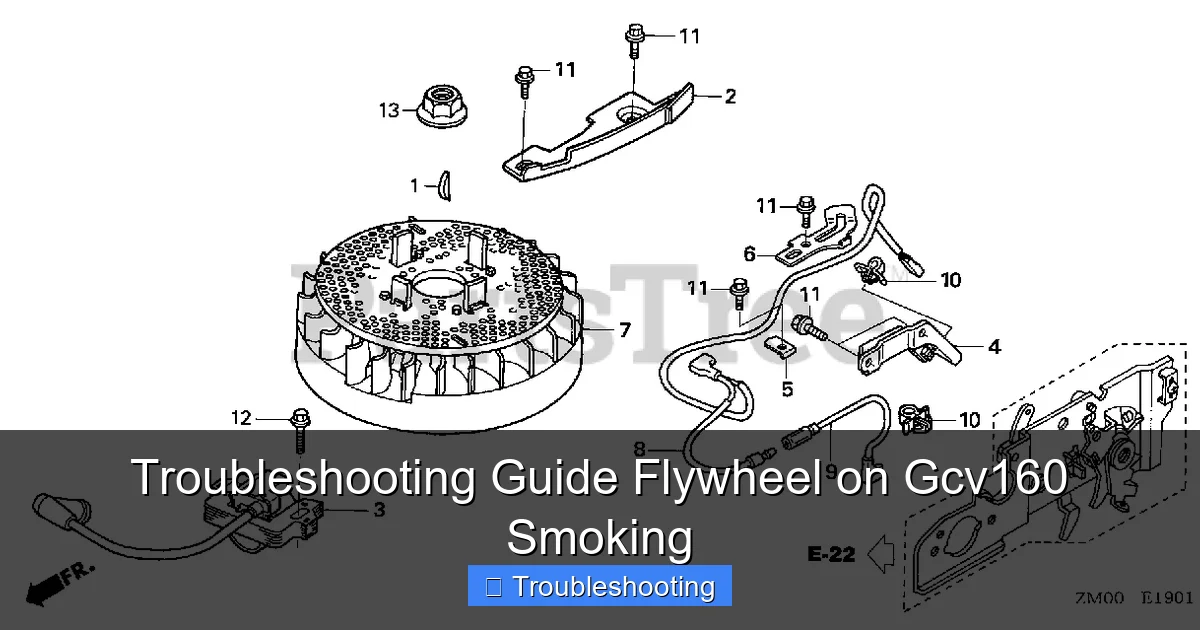
The flywheel is secured to the crankshaft with a bolt and aligned using a small metal key. If this key is sheared or the bolt is loose, the flywheel can wobble, creating friction and heat.
Inspect the Flywheel Key
The flywheel key is a small, rectangular piece of metal that fits into a slot on the crankshaft and flywheel. If it’s cracked, flattened, or missing, the flywheel may slip or vibrate. This can cause metal-to-metal contact, generating heat and smoke.
To check the key, remove the flywheel (see next step). Look for signs of shearing—flat spots or metal shavings around the keyway. Replace the key if damaged. Use a new key that matches the original size (typically 3/16” x 3/16” x 1/2”).
Check the Flywheel Bolt
The flywheel is held on by a large bolt tightened to a specific torque (usually around 40–50 ft-lbs for the GCV160). If the bolt is loose, the flywheel can shift and rub against other parts. Use a torque wrench to ensure it’s properly tightened.
Never reuse a damaged or stretched bolt. Replace it with a high-quality replacement from a Honda dealer or reputable supplier.
Step 5: Remove and Inspect the Flywheel
If you suspect internal damage or need to access the key and bolt, you’ll need to remove the flywheel. This requires a flywheel puller tool.
Gather the Right Tools
You’ll need a flywheel puller (specific to your engine model), a socket wrench, and possibly a torque wrench. Avoid using makeshift tools like hammers or pry bars, which can damage the flywheel or crankshaft.
Secure the Flywheel
Before loosening the bolt, prevent the flywheel from spinning. You can use a flywheel holder tool or wedge a screwdriver into the cooling fins (carefully, to avoid damage).
Loosen the Flywheel Bolt
Turn the bolt counterclockwise. It may be very tight. Apply penetrating oil if it’s stuck, but avoid getting oil on the ignition components.
Attach the Puller
Screw the puller bolts into the threaded holes on the flywheel (usually two or three). Tighten the center bolt of the puller slowly and evenly until the flywheel pops off. Do not force it—apply steady pressure.
Inspect the Flywheel Surface
Look for scoring, discoloration, or warping. A warped flywheel can cause vibration and overheating. Minor scratches are normal, but deep grooves or blueing (from extreme heat) mean it needs replacement.
Check the Crankshaft End
Ensure the crankshaft isn’t bent or damaged. A bent shaft will cause the flywheel to wobble even with a new key and bolt.
Step 6: Address Ignition and Electrical Issues
Sometimes, smoke near the flywheel isn’t from oil or debris—it’s from electrical arcing. The GCV160 uses a magneto ignition system where the flywheel’s magnets pass near the ignition coil.
Check for Arcing
Look for burn marks or melted plastic on the ignition coil or nearby wiring. If the coil is too close to the flywheel or the magnets are damaged, it can cause sparks and smoke.
Inspect the Ignition Coil Gap
The gap between the ignition coil and flywheel magnets should be about 0.008 to 0.012 inches (0.2–0.3 mm). Use a feeler gauge to check. If the gap is too small, the coil can rub or arc. Adjust by loosening the coil mounting bolts and repositioning it.
Test the Coil
Use a multimeter to test the coil’s resistance. Refer to your engine manual for specifications. A faulty coil may overheat and emit smoke or cause misfires.
Step 7: Reassemble and Test
Once you’ve identified and fixed the issue, it’s time to put everything back together.
Reinstall the Flywheel
Slide the flywheel onto the crankshaft, aligning the key with the slot. Hand-tighten the bolt first, then torque it to specification. Reinstall the flywheel cover and secure all bolts.
Reconnect the Spark Plug
Reattach the spark plug wire and ensure it’s snug. Reinstall the spark plug if you removed it.
Start the Engine
Start the engine and let it run for a few minutes. Watch for smoke and listen for unusual noises. If the smoking stops and the engine runs smoothly, you’ve likely solved the problem.
Monitor Performance
Run the equipment under normal load for 10–15 minutes. Check for recurring smoke, overheating, or performance issues. If problems persist, recheck your work or consult a professional.
Troubleshooting Common Issues
Even after following these steps, you might encounter challenges. Here’s how to handle common problems:
Smoke Returns After Cleaning
If smoke comes back quickly, there’s likely an ongoing oil leak or internal engine issue. Recheck seals and gaskets. Consider a compression test to rule out worn piston rings or valve seals.
Flywheel Won’t Come Off
If the puller doesn’t work, the flywheel may be seized. Apply heat carefully with a heat gun (not a torch) to expand the metal slightly. Avoid overheating, which can damage magnets or bearings.
Engine Still Overheats
If the engine runs hot even after cleaning, check the air filter, carburetor settings, and fuel mixture. A rich fuel mixture can increase operating temperature.
Preventative Maintenance Tips
Preventing flywheel smoking is easier than fixing it. Follow these maintenance practices:
- Change oil regularly: Use SAE 10W-30 or as recommended. Change every 50 hours or annually.
- Keep the engine clean: Blow off grass and debris after each use.
- Check oil level before each use: Avoid overfilling.
- Inspect seals and gaskets annually: Replace worn parts before they leak.
- Store equipment properly: Keep it dry and covered to prevent moisture and dirt buildup.
Conclusion: Keep Your GCV160 Running Smoothly
A smoking flywheel on your Honda GCV160 is a warning sign, but it’s rarely a death sentence for your engine. With careful inspection and the right tools, most causes—oil leaks, debris buildup, or mechanical wear—can be fixed at home. By following this troubleshooting guide, you’ll not only resolve the immediate issue but also extend the life of your engine.
Remember, safety comes first. Always disconnect the spark plug, work in a ventilated area, and use proper tools. Regular maintenance is your best defense against future problems. If you’re ever unsure, don’t hesitate to consult a qualified technician. Your GCV160 is built to last—treat it well, and it will keep powering your equipment for years to come.