
This guide helps you diagnose and fix muffler assembly problems on the GCV160 engine, commonly used in hunting equipment like leaf blowers and generators. You’ll learn how to identify leaks, clean carbon buildup, and replace damaged parts safely and effectively.
Key Takeaways
- Safety first: Always disconnect the spark plug before working on the muffler to prevent accidental engine starts.
- Carbon buildup is common: Regular cleaning prevents blockages that reduce engine power and increase emissions.
- Check for leaks: Exhaust leaks can cause poor performance and pose safety hazards—inspect gaskets and bolts.
- Use OEM parts: Genuine Honda GCV160 muffler components ensure proper fit and long-term reliability.
- Torque matters: Over-tightening or under-tightening muffler bolts can lead to damage or leaks—follow manufacturer specs.
- Listen for changes: Unusual noises like popping or rattling often signal muffler or exhaust system issues.
- Preventive maintenance: Clean the muffler every 25–50 hours of use to extend engine life and maintain efficiency.
Quick Answers to Common Questions
Tip/Question?
How often should I clean the muffler on my GCV160?
Clean the muffler every 25–50 hours of use, or at the start of each hunting season. More frequent cleaning may be needed if you use the equipment heavily or in dusty conditions.
Tip/Question?
Can I use a generic muffler gasket instead of an OEM part?
It’s not recommended. Generic gaskets may not withstand high heat or fit properly, leading to leaks. Always use a genuine Honda gasket for best results.
Tip/Question?
What if my muffler bolts are rusted and won’t come out?
Spray them with penetrating oil and let it sit for 15–20 minutes. Use a wrench with a cheater bar for extra leverage, but avoid excessive force to prevent breaking the bolt.
Tip/Question?
Is it safe to run the engine without a spark arrester?
No. In many areas, it’s illegal and dangerous. The spark arrester prevents hot particles from escaping and starting fires—especially important in dry hunting environments.
Tip/Question?
Why is my engine louder after reassembly?
This usually means the muffler isn’t sealed properly. Check the gasket alignment and bolt tightness. Also, ensure the muffler isn’t cracked or damaged.
Introduction: Why the Muffler Matters on Your GCV160 Engine
If you’re using a piece of hunting gear powered by a Honda GCV160 engine—like a backpack leaf blower, generator, or power sprayer—you know how important smooth, quiet operation is. Whether you’re moving through the woods or working near game, excess noise can scare animals and ruin your experience. That’s where the muffler assembly comes in. It’s not just about noise reduction; the muffler plays a critical role in engine performance, emissions control, and safety.
Over time, the muffler on your GCV160 can develop issues like carbon buildup, rust, leaks, or loose components. These problems can lead to reduced power, louder operation, or even dangerous exhaust fumes entering the air you breathe. Fortunately, most muffler assembly issues are easy to spot and fix with basic tools and a little know-how.
In this guide, you’ll learn how to troubleshoot, clean, and repair the muffler assembly on your GCV160 engine. We’ll walk you through every step—from safety precautions to reassembly—so you can get back to hunting or outdoor work with confidence. Whether you’re a seasoned DIYer or a first-time tinkerer, this guide is designed to be clear, practical, and easy to follow.
Understanding the GCV160 Muffler Assembly
Before diving into troubleshooting, it helps to understand what the muffler assembly does and how it’s built. The GCV160 engine, made by Honda, is a 160cc, 4-stroke, overhead cam (OHC) engine commonly found in outdoor power equipment. Its muffler is typically mounted directly to the engine block and is designed to reduce noise and direct exhaust gases safely away from the user.
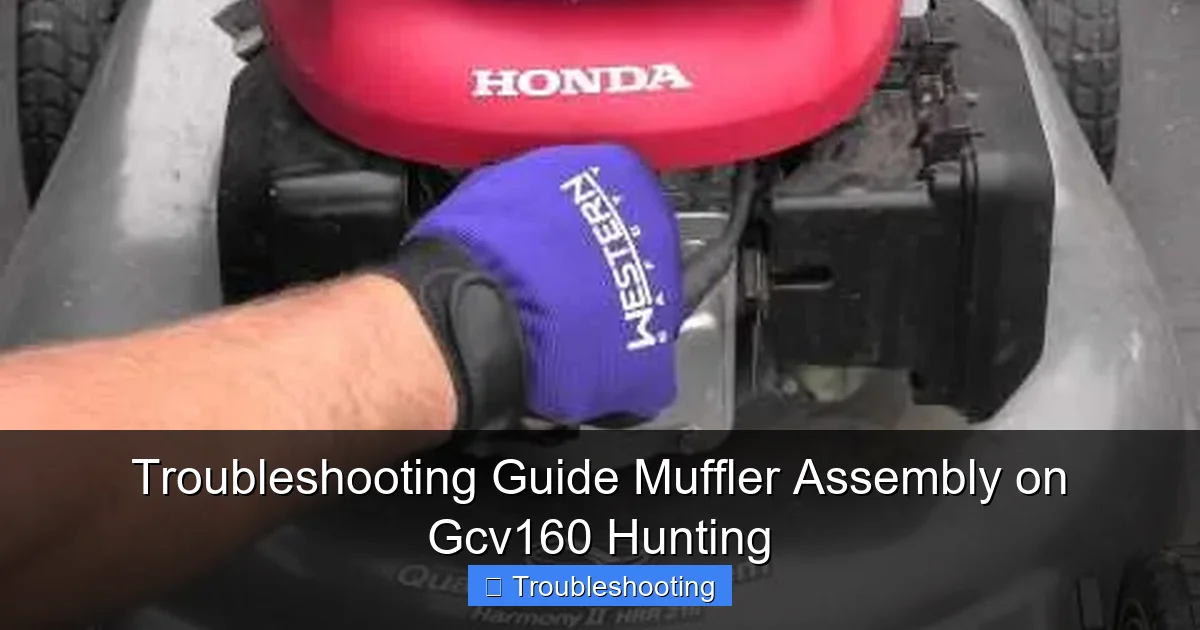
Visual guide about Troubleshooting Guide Muffler Assembly on Gcv160 Hunting
Image source: i.ytimg.com
The muffler assembly usually consists of:
- Muffler body: A metal casing that houses internal baffles to reduce sound.
- Exhaust gasket: A heat-resistant seal between the engine and muffler to prevent leaks.
- Mounting bolts: Typically two or three bolts that secure the muffler to the engine.
- Spark arrester (in some models): A small screen or mesh inside the muffler that prevents hot particles from escaping—especially important in dry, fire-prone areas.
Because the muffler operates under high heat and pressure, it’s prone to wear over time. Carbon deposits from combustion can clog the exhaust path, and metal parts can corrode or loosen. Understanding these components will help you identify problems faster and fix them more effectively.
Tools and Materials You’ll Need
Before starting any work on your GCV160 muffler, gather the right tools and supplies. Having everything ready will save time and reduce frustration.
Visual guide about Troubleshooting Guide Muffler Assembly on Gcv160 Hunting
Image source: i.ytimg.com
Basic Tools
- Socket wrench set (usually 10mm or 12mm sockets for GCV160 bolts)
- Screwdrivers (flathead and Phillips)
- Pliers or needle-nose pliers
- Wire brush or steel wool
- Safety gloves and goggles
Cleaning Supplies
- Carburetor cleaner or brake parts cleaner
- Compressed air (optional but helpful)
- Rags or shop towels
- High-temperature anti-seize compound (for bolts)
Replacement Parts (if needed)
- OEM Honda GCV160 muffler gasket (part #18316-ZE2-W01 or equivalent)
- New muffler assembly (if damaged beyond repair)
- Spark arrester screen (if applicable)
Always use genuine Honda parts when possible. Aftermarket parts may not fit properly or meet safety standards, especially for emissions and fire prevention.
Step 1: Safety First – Preparing to Work on the Muffler
Working on any engine component requires caution. The muffler gets extremely hot during operation, and the engine can start unexpectedly if not properly disabled. Follow these safety steps before beginning.
Let the Engine Cool Down
Never work on a hot engine. If you’ve been using your equipment, turn it off and wait at least 30 minutes for the muffler and engine to cool. Touching a hot muffler can cause serious burns.
Disconnect the Spark Plug
This is the most important safety step. Locate the spark plug wire on your GCV160 engine—it’s usually a thick black wire connected to a small plug near the cylinder head. Grip the boot (not the wire itself) and pull it off. Then, use a spark plug wrench to remove the plug completely. This prevents the engine from starting while you’re working.
Work in a Well-Ventilated Area
Even when the engine is off, residual fumes can linger. Work outdoors or in a garage with the door open. Avoid enclosed spaces where carbon monoxide or fuel vapors could accumulate.
Wear Protective Gear
Put on safety gloves to protect your hands from sharp edges and hot surfaces. Wear safety goggles to shield your eyes from debris when cleaning or removing parts.
Once you’ve completed these steps, you’re ready to begin troubleshooting.
Step 2: Visual Inspection – Spotting Obvious Problems
Start with a thorough visual inspection of the muffler assembly. Many issues can be identified just by looking.
Check for Physical Damage
- Look for dents, cracks, or holes in the muffler body. These can allow exhaust gases to escape in the wrong places.
- Inspect the mounting area where the muffler attaches to the engine. Rust or warping can prevent a proper seal.
- Check the exhaust outlet. If it’s clogged with debris or carbon, it may need cleaning.
Look for Signs of Leaks
- Black soot or staining around the muffler gasket or bolts indicates an exhaust leak.
- Listen for a hissing or popping sound when the engine is running—this often means gas is escaping under pressure.
- Use a flashlight to inspect hard-to-see areas. Sometimes leaks are small and hard to spot.
Inspect the Spark Arrester (if equipped)
Some GCV160 models, especially those used in wildfire-prone regions, include a spark arrester screen inside the muffler. This small mesh filter prevents hot particles from exiting the exhaust. Over time, it can become clogged with carbon.
- Remove the muffler (we’ll cover this next) and look inside the exhaust outlet.
- If you see a screen, check if it’s blocked. A clogged spark arrester reduces airflow and engine power.
If you find visible damage or heavy clogging, proceed to cleaning or replacement. If everything looks okay, move on to functional testing.
Step 3: Removing the Muffler Assembly
To clean or replace the muffler, you’ll need to remove it from the engine. Follow these steps carefully.
Locate the Mounting Bolts
On most GCV160 engines, the muffler is held in place by two or three bolts that connect it to the engine block. These are usually 10mm or 12mm bolts. They may be located on the side or bottom of the muffler.
Loosen and Remove the Bolts
- Use a socket wrench to loosen the bolts. Turn counterclockwise.
- If bolts are stuck due to rust or heat, spray them with a penetrating oil like WD-40 and wait 10–15 minutes before trying again.
- Once loose, remove the bolts completely and set them aside in a safe place.
Detach the Muffler
Gently wiggle the muffler to break it free from the engine. It may be held in place by the gasket, which can stick over time. Avoid using excessive force—this can damage the engine or muffler flange.
Remove the Old Gasket
Once the muffler is off, you’ll see the exhaust gasket between the muffler and engine. Carefully peel it off. Inspect it for cracks, burns, or deformation. A damaged gasket must be replaced to prevent leaks.
Now that the muffler is removed, you can clean it thoroughly or replace it if necessary.
Step 4: Cleaning the Muffler and Spark Arrester
Carbon buildup is the most common cause of muffler problems. Cleaning it regularly can restore performance and extend the life of your engine.
Clean the Exterior
- Use a wire brush or steel wool to scrub off rust, dirt, and carbon deposits from the outside of the muffler.
- Wipe it down with a rag and brake cleaner to remove grease and grime.
Clean the Interior (if accessible)
Some mufflers have removable end caps or spark arresters that allow internal cleaning. If yours does:
- Unscrew the end cap or remove the spark arrester screen.
- Use carburetor cleaner and a brush to scrub away carbon buildup inside the muffler.
- Rinse with compressed air to blow out loose debris.
- Let all parts dry completely before reassembly.
Clean the Spark Arrester Screen
If your model has a spark arrester:
- Remove the screen carefully using pliers or a screwdriver.
- Soak it in carburetor cleaner for 15–20 minutes.
- Scrub gently with a soft brush, then rinse and dry.
- Inspect for holes or warping. Replace if damaged.
Never use water to clean internal muffler components—moisture can cause rust and damage the engine when restarted.
Step 5: Replacing Damaged Parts
If cleaning doesn’t solve the problem, you may need to replace parts.
Replace the Exhaust Gasket
A worn or cracked gasket is a common cause of exhaust leaks. Always replace it when removing the muffler.
- Install the new gasket onto the engine’s exhaust port.
- Make sure it sits flat and aligned with the bolt holes.
Replace the Muffler (if necessary)
If the muffler is cracked, rusted through, or otherwise damaged, replace it with a new OEM Honda GCV160 muffler. Aftermarket mufflers may not meet noise or emissions standards.
- Align the new muffler with the engine port.
- Insert the mounting bolts and hand-tighten first.
Replace the Spark Arrester
If the screen is damaged or cannot be cleaned, replace it with a genuine Honda part. This is especially important for fire safety in dry environments.
Step 6: Reinstalling the Muffler Assembly
Once everything is clean and new parts are in place, it’s time to reinstall the muffler.
Position the Muffler
Place the muffler back onto the engine, aligning it with the exhaust port and bolt holes. Make sure the gasket is properly seated.
Tighten the Bolts
- Insert the bolts and tighten them evenly in a crisscross pattern to avoid warping.
- Use a torque wrench if possible. Honda recommends tightening muffler bolts to 12–15 ft-lbs (16–20 Nm). Over-tightening can strip threads or crack the muffler.
- If you don’t have a torque wrench, tighten firmly but don’t force it.
Reconnect the Spark Plug
Once the muffler is secure, reinstall the spark plug and reconnect the wire. Make sure the connection is snug.
Step 7: Testing the Repair
Start the engine and listen carefully.
- The engine should run smoothly with no unusual noises.
- Check around the muffler for leaks—look for soot or listen for hissing.
- If the engine runs better and is quieter, the repair was successful.
If problems persist, revisit the troubleshooting steps or consult a professional.
Troubleshooting Common Muffler Issues
Even after cleaning and reassembly, some issues may remain. Here’s how to handle them.
Engine Loses Power or Runs Rough
This could mean the muffler is still partially blocked. Recheck for carbon buildup or a damaged spark arrester.
Excessive Noise
If the engine is louder than usual, the muffler may be damaged internally or the gasket may not be sealing properly. Reinspect and retighten bolts.
Smoke or Fumes Near the Operator
This is a serious safety issue. It could mean an exhaust leak or improper installation. Shut down the engine immediately and recheck all connections.
Muffler Vibrates or Rattles
Loose bolts or a damaged muffler body can cause vibration. Tighten all fasteners and inspect for cracks.
Preventive Maintenance Tips
To avoid future problems, follow these maintenance practices:
- Clean the muffler every 25–50 hours of use.
- Inspect the spark arrester before each hunting season.
- Store equipment in a dry place to prevent rust.
- Use fresh fuel and consider a fuel stabilizer to reduce carbon buildup.
Conclusion
The muffler assembly on your GCV160 engine is a small but vital component. By learning how to troubleshoot and maintain it, you’ll keep your hunting gear running quietly, efficiently, and safely. Regular inspections, cleaning, and timely part replacements can prevent major issues and extend the life of your equipment. With the steps in this guide, you’re well-equipped to handle any muffler problem that comes your way.