
Is your Honda GCV160 engine leaking gas or losing compression? This guide walks you through diagnosing and fixing piston ring set issues that cause fuel leaks and poor performance. You’ll learn how to inspect, replace, and prevent future problems with clear, practical steps.
Key Takeaways
- Gas leaks in the GCV160 are often caused by worn or damaged piston rings. These rings seal the combustion chamber, and when they fail, fuel can escape into the crankcase or burn improperly.
- Low compression is a key symptom of piston ring failure. Use a compression tester to confirm the issue before disassembling the engine.
- Always replace piston rings in sets and match them to the correct cylinder bore size. Mismatched rings can cause further damage or poor sealing.
- Proper ring gap and installation orientation are critical. Incorrectly gapped or upside-down rings will fail prematurely.
- Clean the cylinder wall thoroughly before installing new rings. Any debris or scoring can prevent a proper seal and lead to leaks.
- Use engine assembly lube on new rings and cylinder walls. This prevents dry starts and ensures smooth seating during initial operation.
- Reassemble with torque specifications and break-in procedures. Following Honda’s guidelines ensures long-term reliability and performance.
Quick Answers to Common Questions
Tip/Question?
Can I reuse old piston rings if they look okay?
No—piston rings lose tension over time, even if they appear undamaged. Always install a new set for a proper seal.
Tip/Question?
How do I know if the cylinder needs honing?
If the cylinder wall has a glazed or smooth finish, or if compression improves significantly after adding oil, honing may be needed to restore the crosshatch pattern.
Tip/Question?
What if my compression test shows normal PSI?
The gas leak may not be from the piston rings. Check the carburetor, fuel lines, and crankcase gaskets for cracks or loose fittings.
Tip/Question?
Should I replace the piston too?
Only if it’s scored, cracked, or worn. A new ring set can often restore performance on a good piston.
Tip/Question?
How often should I change the oil after a ring replacement?
Change the oil after the first 5 hours of operation to remove any metal particles from the break-in period.
Introduction: Why Is Your GCV160 Leaking Gas?
If you’ve noticed gas leaking from your Honda GCV160 engine—especially around the crankcase or carburetor—it’s not just messy, it’s a sign of a serious internal problem. One of the most common culprits behind this issue is a failing piston ring set. The piston rings in your engine play a vital role: they seal the combustion chamber, control oil consumption, and help transfer heat from the piston to the cylinder wall. When these rings wear out, break, or become stuck, they can no longer maintain a proper seal. This leads to compression loss, oil contamination, and yes—gas leaking into areas where it shouldn’t be.
In this comprehensive troubleshooting guide, you’ll learn how to identify, diagnose, and fix a leaking gas problem caused by a faulty piston ring set on the Honda GCV160 engine. Whether you’re a DIY mechanic or a homeowner maintaining your lawn mower, pressure washer, or generator, this step-by-step guide will walk you through the entire process—from initial inspection to final reassembly. We’ll cover tools you’ll need, safety precautions, detailed disassembly instructions, ring replacement tips, and how to avoid common mistakes. By the end, your engine should be running smoothly, efficiently, and leak-free.
Understanding the GCV160 Engine and Piston Ring Function
Before diving into repairs, it’s important to understand how the GCV160 engine works and why piston rings are so critical. The GCV160 is a 160cc, single-cylinder, 4-stroke engine commonly used in Honda lawn mowers, pressure washers, and small generators. It’s known for its reliability, but like any engine, it requires maintenance—especially when components like piston rings begin to wear.

Visual guide about Troubleshooting Guide Piston Ring Set on Gcv160 Leaking Gas
Image source: university.fuelmotousa.com
The piston ring set in the GCV160 typically consists of three rings: two compression rings and one oil control ring. The top two rings (compression rings) prevent combustion gases from escaping into the crankcase during the power stroke. The third ring (oil ring) scrapes excess oil from the cylinder wall and returns it to the oil pan. When these rings are compromised—due to age, overheating, poor fuel quality, or lack of maintenance—they can no longer seal properly. This allows unburned fuel and combustion gases to leak past the piston, often ending up in the crankcase. Over time, this can dilute the engine oil, reduce lubrication, and even cause hydrostatic lock if enough fuel accumulates.
Signs that your piston rings may be failing include:
- Visible gas or fuel odor near the engine
- White or blue smoke from the exhaust (indicating oil burning)
- Loss of power or difficulty starting
- Excessive oil consumption
- Low compression readings
If you’re experiencing any of these symptoms, it’s time to investigate the piston ring set.
Tools and Materials You’ll Need
To properly troubleshoot and replace the piston ring set on your GCV160, you’ll need the right tools and materials. Gathering everything beforehand will save time and prevent frustration during the repair.
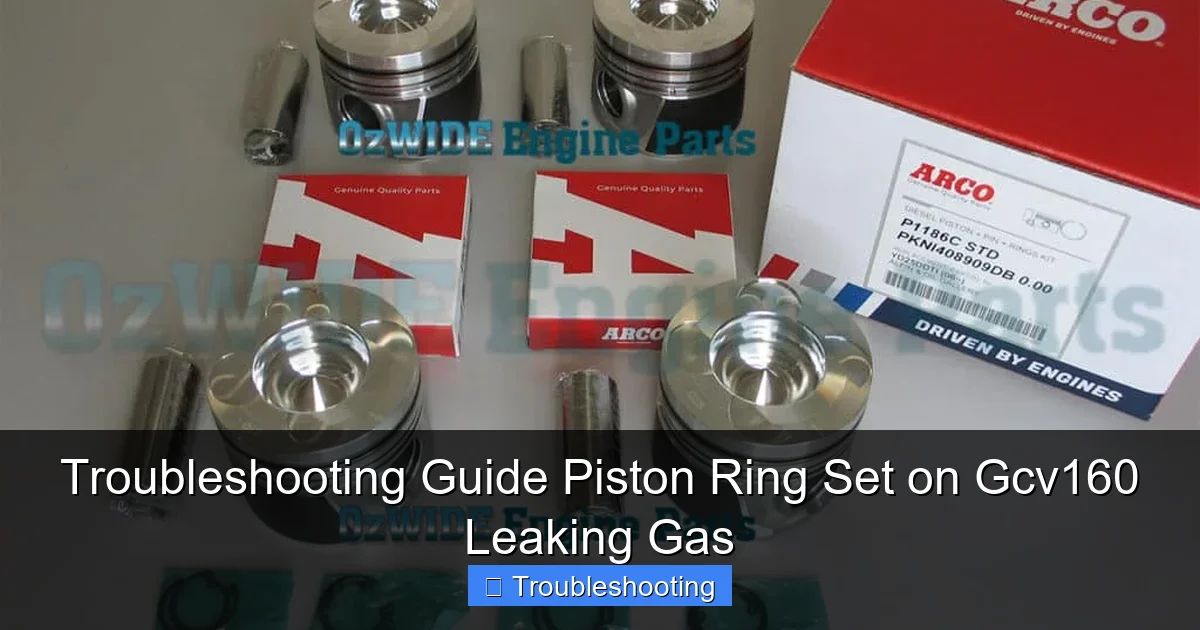
Visual guide about Troubleshooting Guide Piston Ring Set on Gcv160 Leaking Gas
Image source: ozwideengineparts.com.au
Essential Tools
- Socket wrench set (metric, 8mm–14mm)
- Torque wrench
- Piston ring compressor tool
- Piston ring expander or pliers
- Cylinder hone or glaze breaker (optional, for smoothing cylinder walls)
- Compression tester
- Feeler gauge (for measuring ring end gaps)
- Clean rags and shop towels
- Screwdrivers (flathead and Phillips)
- Needle-nose pliers
- Engine stand or secure workbench
Materials and Supplies
- New piston ring set (compatible with GCV160)
- Engine assembly lube or high-quality grease
- Fresh engine oil (Honda 10W-30 or equivalent)
- New oil filter (if applicable)
- Gasket sealant (Honda Bond or equivalent)
- Clean gasoline (for cleaning parts)
- Parts cleaner or brake cleaner
- New gaskets (cylinder head, crankcase, etc.)
Safety Gear
- Safety glasses
- Work gloves
- Respirator mask (when using chemicals)
- Fire extinguisher (nearby, as a precaution)
Having these items ready will make the process smoother and safer. Always work in a well-ventilated area and keep open flames or sparks away from gasoline and cleaning solvents.
Step 1: Confirm the Problem with a Compression Test
Before tearing apart your engine, it’s essential to confirm that the piston rings are actually the cause of the gas leak. A compression test is the most reliable way to diagnose ring-related issues.
How to Perform a Compression Test
- Remove the spark plug using a spark plug socket.
- Insert the compression tester into the spark plug hole.
- Have someone pull the starter cord (or use an electric starter) several times while you watch the gauge.
- Record the highest reading.
A healthy GCV160 engine should show a compression reading between 90 and 120 PSI. If the reading is below 80 PSI, it strongly suggests worn or damaged piston rings. You can also perform a “wet” compression test by adding a small amount of oil (about a teaspoon) into the cylinder and retesting. If the compression increases significantly, it confirms that the rings are not sealing properly—oil temporarily fills the gaps, improving the seal.
If compression is low and improves with oil, proceed to the next step. If compression is normal, the gas leak may be due to a carburetor issue, fuel line crack, or crankcase gasket failure—not the piston rings.
Step 2: Drain the Engine Oil and Remove External Components
Now that you’ve confirmed a piston ring issue, it’s time to begin disassembly. Start by preparing the engine for safe and clean work.
Drain the Engine Oil
- Place a drain pan under the engine.
- Remove the oil drain plug (usually on the bottom of the crankcase).
- Allow all oil to drain completely.
- Replace the drain plug and tighten securely.
Note: If the oil smells strongly of gasoline, it’s another sign that fuel is leaking past the piston rings into the crankcase.
Remove External Components
- Disconnect the spark plug wire and remove the spark plug.
- Remove the air filter housing and carburetor (label hoses and connections for easy reassembly).
- Detach the muffler and exhaust manifold if necessary.
- Remove the flywheel cover and recoil starter assembly.
- Unbolt and remove the cylinder head cover.
Take photos or make notes as you go. This will help you remember how everything fits back together. Keep small parts like bolts and gaskets in labeled bags.
Step 3: Remove the Cylinder Head and Expose the Piston
With the external components removed, you can now access the cylinder head and piston.
Remove the Cylinder Head
- Use a socket wrench to remove the cylinder head bolts in a crisscross pattern to avoid warping the head.
- Lift the cylinder head off carefully. You may need to tap it gently with a rubber mallet if it’s stuck.
- Remove and discard the old cylinder head gasket.
Expose the Piston
- Rotate the crankshaft (using a wrench on the flywheel nut) until the piston is at bottom dead center (BDC).
- Remove the connecting rod cap bolts.
- Carefully lift the connecting rod cap off. Note the orientation of any shims or markings.
- Push the piston and connecting rod assembly up and out through the top of the cylinder.
Be gentle—scratching the cylinder wall or damaging the piston can complicate the repair. If the piston is stuck, do not force it. Use penetrating oil and let it sit for a few minutes.
Step 4: Remove the Old Piston Rings
With the piston assembly removed, you can now access the piston rings.
Inspect the Piston and Rings
- Look for signs of damage: cracks, scoring, carbon buildup, or excessive wear.
- Check the ring grooves for wear or grooves that are too deep.
- Note the condition of the rings—are they broken, stuck, or worn thin?
Remove the Rings
- Use a piston ring expander tool or two small screwdrivers to carefully pry the rings out of their grooves.
- Start with the oil ring (bottom), then the second compression ring, and finally the top compression ring.
- Place the old rings in a labeled bag for reference or disposal.
Never reuse old rings—even if they look okay, they’ve likely lost their tension and won’t seal properly.
Step 5: Inspect the Cylinder Bore
The cylinder wall must be in good condition for new rings to seal effectively.
Check for Damage
- Look for scoring, scratches, or glazing on the cylinder wall.
- Use a bore gauge or telescoping gauge to measure cylinder diameter at multiple points (top, middle, bottom).
- Compare measurements to Honda’s specifications (typically 66.00mm for GCV160).
If the cylinder is out of round or excessively worn (more than 0.05mm oversize), it may need to be honed or bored. In severe cases, a cylinder sleeve or engine rebuild may be necessary. For minor glazing, a light hone can restore the crosshatch pattern needed for ring seating.
Clean the Cylinder
- Use parts cleaner and a non-metallic brush to remove carbon and debris.
- Wipe the cylinder wall with a clean, lint-free rag.
- Ensure no particles remain—even small debris can damage new rings.
Step 6: Measure and Install New Piston Rings
Now it’s time to install the new piston ring set. Precision is key.
Check Ring End Gap
- Insert each new ring into the cylinder bore (use the piston to guide it to the correct depth).
- Use a feeler gauge to measure the gap between the ring ends.
- Refer to Honda’s specifications: typically 0.20–0.35mm for compression rings and 0.15–0.30mm for the oil ring.
- If the gap is too small, file the ends slightly. If too large, the ring may not seal properly.
Install the Rings
- Start with the oil ring (bottom). Use a ring expander to install the two thin rails and the spacer.
- Install the second compression ring (middle). Note the marking (usually “TOP”)—it must face up.
- Install the top compression ring. Again, ensure the “TOP” marking is facing upward.
- Stagger the ring gaps—space them 120 degrees apart to prevent gas leakage.
Lubricate the Rings and Cylinder
- Apply a thin layer of engine assembly lube to the cylinder wall.
- Lubricate the piston skirts and rings.
- This prevents dry starts and helps the rings seat properly.
Step 7: Reinstall the Piston and Connecting Rod
Carefully reassemble the piston into the cylinder.
Use a Piston Ring Compressor
- Slide the compressor over the piston and tighten it until the rings are fully compressed.
- Align the piston with the cylinder bore.
- Gently tap the piston into the cylinder using a wooden or rubber mallet.
- Stop when the connecting rod aligns with the crankshaft journal.
Reattach the Connecting Rod Cap
- Apply a small amount of assembly lube to the rod bearings.
- Install the rod cap with the correct orientation (match markings).
- Tighten the rod cap bolts to Honda’s torque specification (typically 12–15 ft-lbs).
- Use a torque wrench and tighten in two stages.
Step 8: Reassemble the Engine
With the piston installed, begin reassembling the engine in reverse order.
Install New Gaskets
- Replace the cylinder head gasket with a new one.
- Apply a thin layer of gasket sealant if recommended.
- Bolt the cylinder head back on using a crisscross pattern.
- Tighten to spec (usually 16–18 ft-lbs).
Reattach External Components
- Reinstall the flywheel, recoil starter, and covers.
- Reconnect the carburetor, air filter, and muffler.
- Reattach the spark plug and wire.
Refill with Fresh Oil
- Add the recommended amount of fresh engine oil (typically 0.5L for GCV160).
- Check the oil level with the dipstick.
Step 9: Break-In and Test the Engine
Proper break-in is essential for new piston rings to seat correctly.
Initial Start-Up
- Prime the engine by pouring a small amount of oil into the spark plug hole.
- Crank the engine a few times without starting to circulate oil.
- Start the engine and let it idle for 10–15 minutes.
- Monitor for leaks, unusual noises, or smoke.
Break-In Procedure
- Run the engine under light load for the first 5 hours.
- Avoid full throttle or heavy loads during this time.
- Change the oil after the first 5 hours to remove any metal particles.
Troubleshooting Common Issues
Even with careful work, problems can arise. Here’s how to handle them:
Engine Still Leaks Gas After Repair
- Double-check ring installation—ensure gaps are staggered and “TOP” markings are up.
- Verify cylinder bore condition—scoring or wear can prevent sealing.
- Inspect crankcase gasket and seals—fuel may be leaking from a different source.
Low Compression Persists
- Recheck ring end gaps—too small a gap can cause rings to butt and break.
- Ensure piston is installed in the correct orientation (arrow pointing toward exhaust).
- Confirm valve timing and valve seat condition.
Excessive Oil Consumption
- May indicate the oil ring is not scraping properly.
- Check for proper ring installation and cylinder wall finish.
Conclusion
Fixing a leaking gas issue in your Honda GCV160 caused by a faulty piston ring set is a challenging but rewarding repair. By following this step-by-step guide, you’ve learned how to diagnose the problem, disassemble the engine, replace the rings correctly, and reassemble everything for optimal performance. Remember, attention to detail—like proper ring gap, lubrication, and torque specs—makes all the difference. With proper maintenance and break-in, your engine should run smoothly for years to come. If you’re ever unsure, consult a professional, but don’t be afraid to tackle this repair yourself—you’ve got the knowledge now.